This is a small tutorial I put together which provides a walk through of building out electric projects powered by an Arduino (Mega). The intention is to provide an introduction to a beginner on steps involved to get a project going. In this particular example, I demonstrate very briefly the following key items:
- Arduino Board Design (Mega 2560).
- Bread Board logic & functionality.
- Powering prototyping boards.
- Analysing vendor documentation for board and or pin out details.
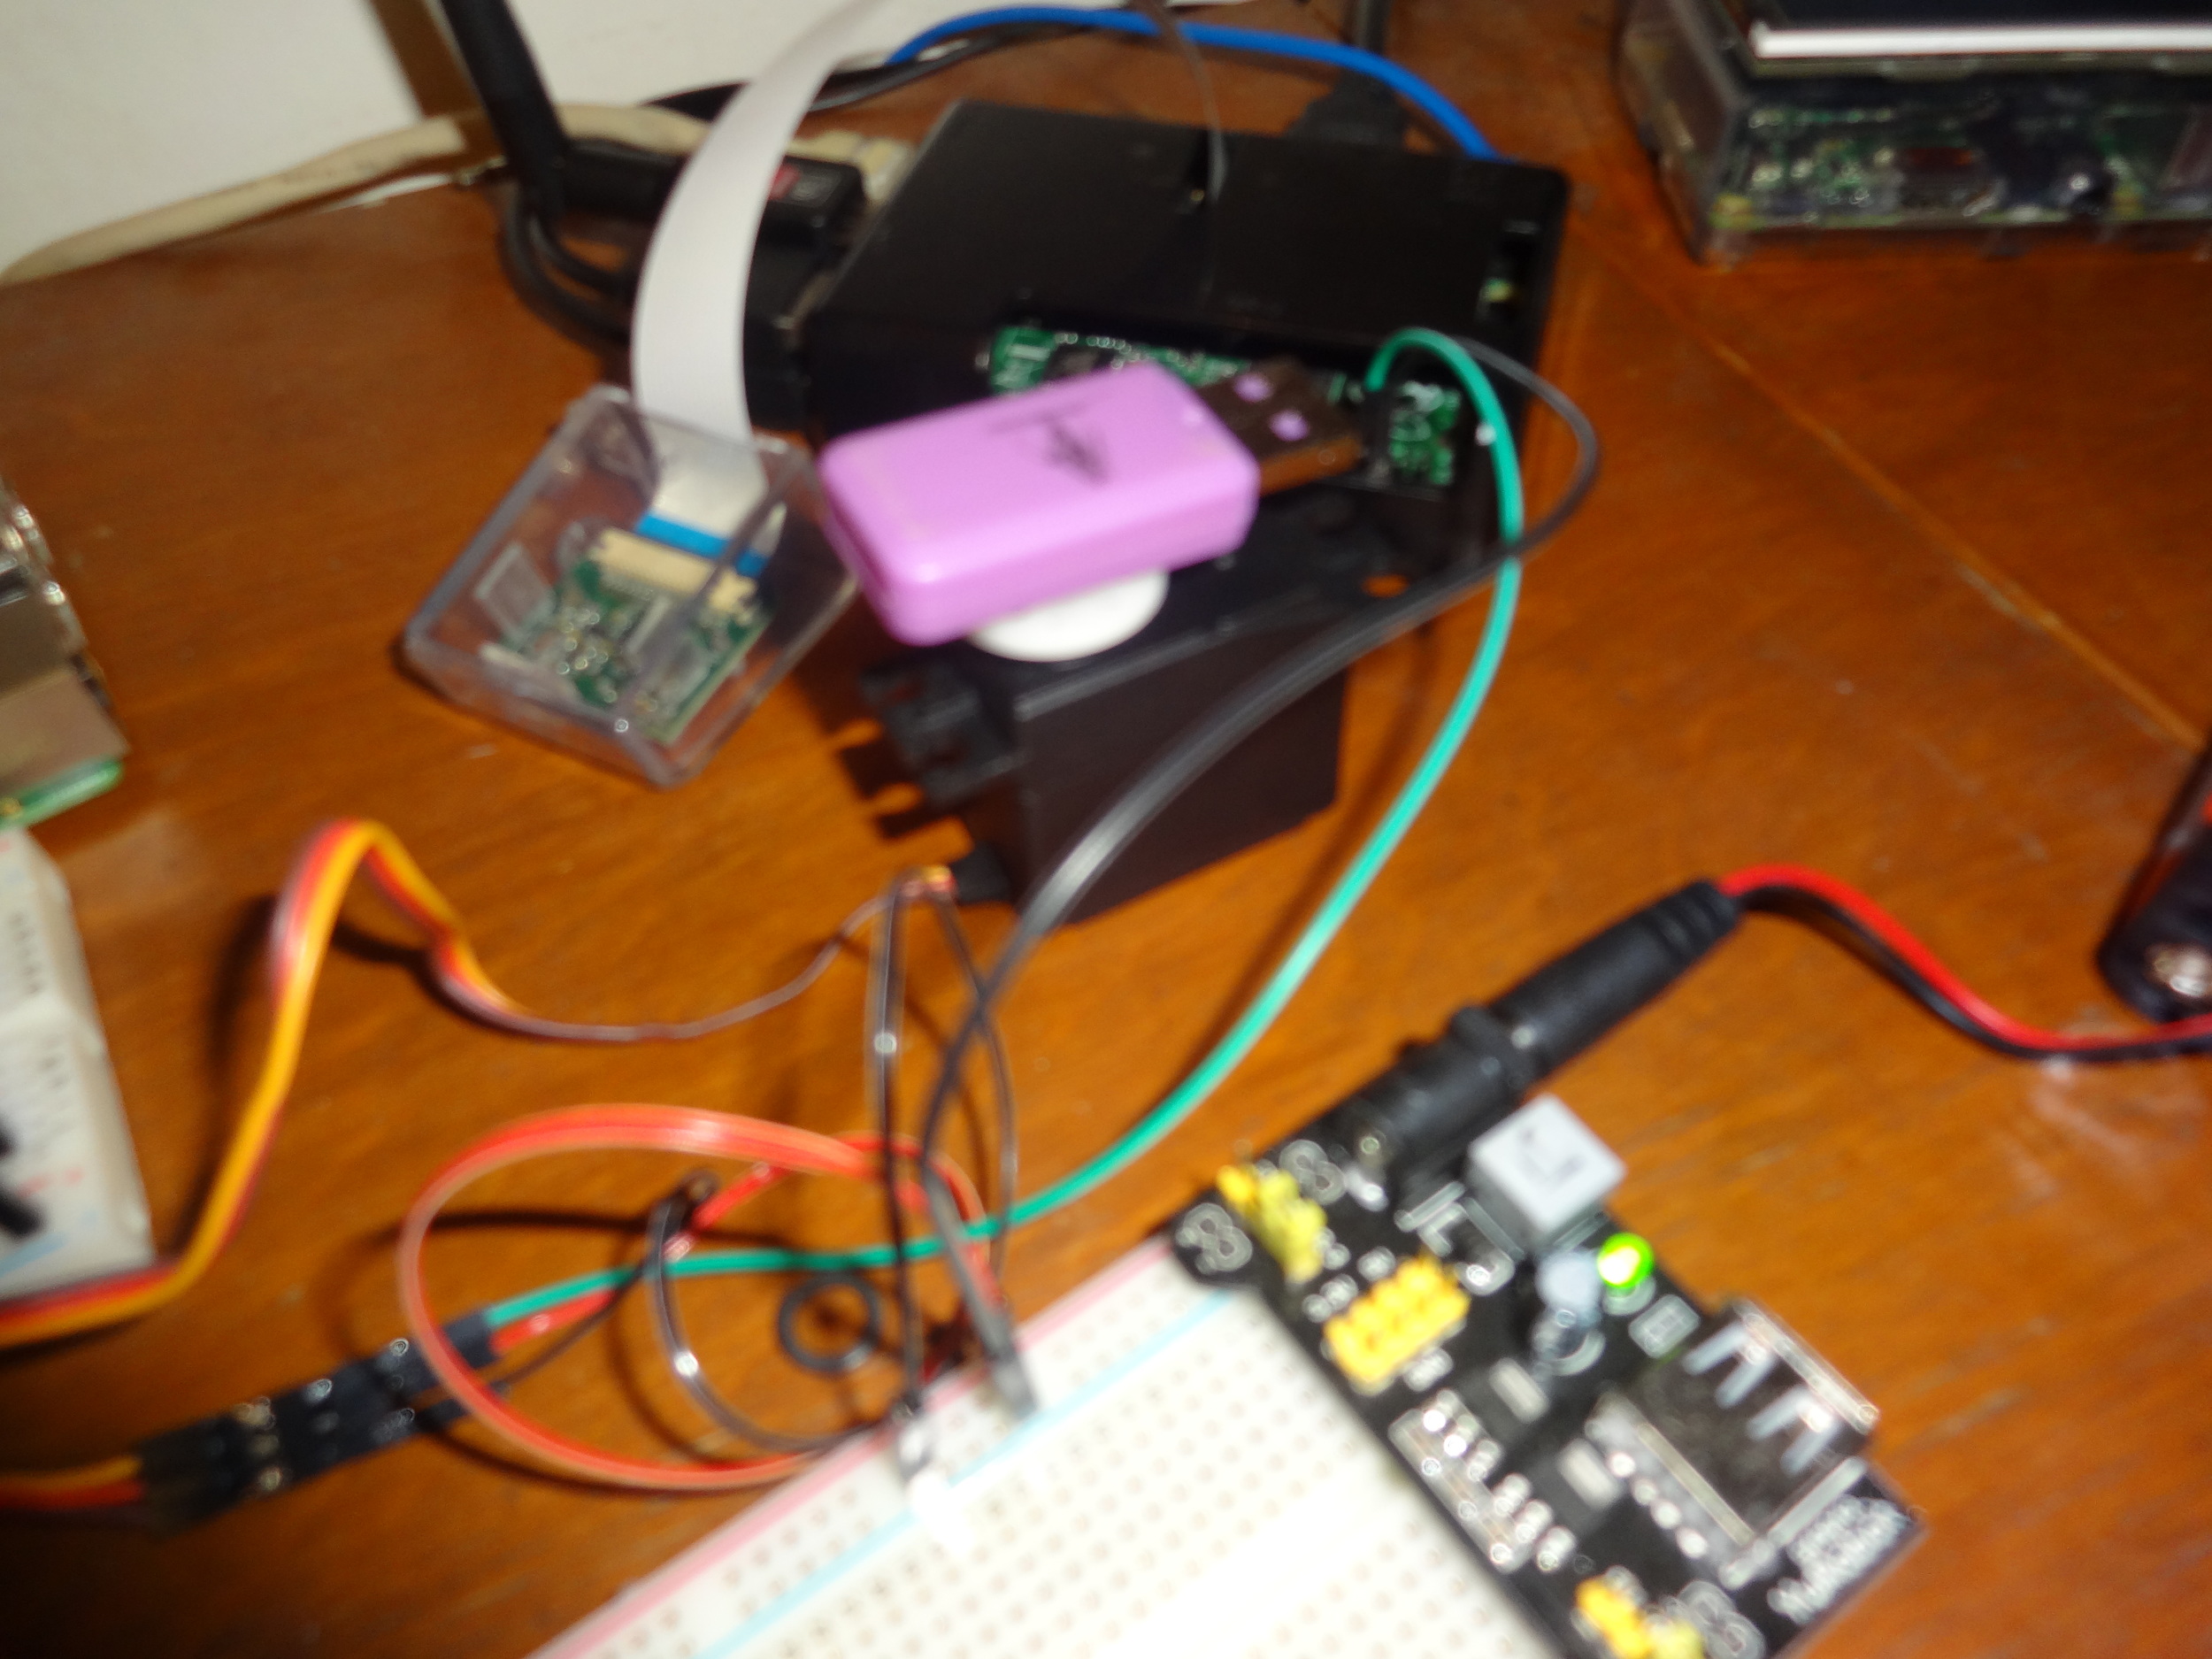
- Wiring I/O devices to the Arduino via a bread board
- Adding, compiling and uploading code to the board.
Below you will find the link to the video on Vimeo, and beneath this you will find the code involved in running the final product.
#Peace
Walk Thru
//Quick & Dirty Display Code
//Displays, Humidity/Temp/Gas Levels (not converted)

#include <UTFT.h>
#include <dht.h>
#define DHT11_PIN 2
dht DHT;
// Declare which fonts we will be using
extern uint8_t SmallFont[];
//UTFT myGLCD(Model,SDA,SCL,CS,RST,RS)
//QD220A is for QDtech 2.2inch SPI LCD Module,Driver IC:ILI9225
UTFT myGLCD(QD220A,A2,A1,A5,A4,A3);   // Remember to change the model parameter to suit your display module!

void setup()
{
  randomSeed(analogRead(0));

// Setup the LCD
  myGLCD.InitLCD();
  myGLCD.InitLCD();//Initializes twice to improve reliability
  myGLCD.setFont(SmallFont);
  myGLCD.clrScr();
}

void loop()
{
  int buf[218];
  int x, x2;
  int y, y2;
  int r;

  // Clear the screen and draw the frame
  myGLCD.clrScr();
  myGLCD.setColor(255, 0, 0);
  myGLCD.fillRect(0, 0, 219, 13);
  myGLCD.setColor(64, 64, 64);
  myGLCD.fillRect(0, 162, 219, 175);
  myGLCD.setColor(255, 255, 255);
  myGLCD.setBackColor(255, 0, 0);
  myGLCD.print("** Dark Photon Weather Station **", CENTER, 1);
  myGLCD.setBackColor(64, 64, 64);
  myGLCD.setColor(255,255,0);
  myGLCD.print("> www.darkphotonworks.com <", CENTER, 163);


  //print out DHT Humidity readings
  int chk = DHT.read11(DHT11_PIN);


  switch (chk)
  {
    case DHTLIB_OK:
    myGLCD.print("** DHT11 Reading OK **", CENTER, 30);
    break;
    case DHTLIB_ERROR_CHECKSUM:
    myGLCD.print("** DHT11 Reading Checksum Error **", CENTER, 30);
    break;
    case DHTLIB_ERROR_TIMEOUT:
    myGLCD.print("** DHT11 Timeout Error **", CENTER, 30);
    break;
    default:
    myGLCD.print("** DHT11 Unknown Error **", CENTER, 30);
    break;
  }

  myGLCD.print("Humidity: ",CENTER, 80);

  char buffer [33];
  char *humidity = itoa(DHT.humidity, buffer, 10);
  myGLCD.print(humidity,CENTER, 90);


  myGLCD.setColor(0, 0, 255);
  myGLCD.drawRect(0, 14, 219, 161);
  delay (5000);


  //clear screen and redraw frame:

  myGLCD.clrScr();
  myGLCD.setColor(255, 0, 0);
  myGLCD.fillRect(0, 0, 219, 13);
  myGLCD.setColor(64, 64, 64);
  myGLCD.fillRect(0, 162, 219, 175);
  myGLCD.setColor(255, 255, 255);
  myGLCD.setBackColor(255, 0, 0);
  myGLCD.print("** Dark Photon Weather Station **", CENTER, 1);
  myGLCD.setBackColor(64, 64, 64);
  myGLCD.setColor(255,255,0);
  myGLCD.print("> www.darkphotonworks.com <", CENTER, 163);


  switch (chk)
  {
    case DHTLIB_OK:
    myGLCD.print("** DHT11 Reading OK **", CENTER, 30);
    break;
    case DHTLIB_ERROR_CHECKSUM:
    myGLCD.print("** DHT11 Reading Checksum Error **", CENTER, 30);
    break;
    case DHTLIB_ERROR_TIMEOUT:
    myGLCD.print("** DHT11 Timeout Error **", CENTER, 30);
    break;
    default:
    myGLCD.print("** DHT11 Unknown Error **", CENTER, 30);
    break;
  }

  // print out temp readings
  myGLCD.print("Temperature: ",CENTER, 80);

  char buffer1 [33];
  char *temp = itoa(DHT.temperature, buffer1, 10);
  myGLCD.print(temp,CENTER, 90);


  myGLCD.setColor(0, 0, 255);
  myGLCD.drawRect(0, 14, 219, 161);
  delay (5000);


  //clear screen and redraw frame:

  myGLCD.clrScr();
  myGLCD.setColor(255, 0, 0);
  myGLCD.fillRect(0, 0, 219, 13);
  myGLCD.setColor(64, 64, 64);
  myGLCD.fillRect(0, 162, 219, 175);
  myGLCD.setColor(255, 255, 255);
  myGLCD.setBackColor(255, 0, 0);
  myGLCD.print("** Dark Photon Weather Station **", CENTER, 1);
  myGLCD.setBackColor(64, 64, 64);
  myGLCD.setColor(255,255,0);
  myGLCD.print("> www.darkphotonworks.com <", CENTER, 163);
  // print out gas levels
  myGLCD.print("Gas Level: ",CENTER, 80);

  int iSensorValue = analogRead(A8);
  char gasBuffer [33];
  char *myGas = itoa(iSensorValue, gasBuffer, 10);

  myGLCD.print(myGas,CENTER, 90);
  delay (5000);

}