How exactly does an Alexa Skill work again?
Read MoreInfoTech
Arduino Mega and How to Wire Input and Output Devices /
This is a small tutorial I put together which provides a walk through of building out electric projects powered by an Arduino (Mega). The intention is to provide an introduction to a beginner on steps involved to get a project going. In this particular example, I demonstrate very briefly the following key items:
- Arduino Board Design (Mega 2560).
- Bread Board logic & functionality.
- Powering prototyping boards.
- Analysing vendor documentation for board and or pin out details.
- Wiring I/O devices to the Arduino via a bread board
- Adding, compiling and uploading code to the board.
Below you will find the link to the video on Vimeo, and beneath this you will find the code involved in running the final product.
#Peace
Walk Thru
//Quick & Dirty Display Code
//Displays, Humidity/Temp/Gas Levels (not converted)

#include <UTFT.h>
#include <dht.h>
#define DHT11_PIN 2
dht DHT;
// Declare which fonts we will be using
extern uint8_t SmallFont[];
//UTFT myGLCD(Model,SDA,SCL,CS,RST,RS)
//QD220A is for QDtech 2.2inch SPI LCD Module,Driver IC:ILI9225
UTFT myGLCD(QD220A,A2,A1,A5,A4,A3);   // Remember to change the model parameter to suit your display module!

void setup()
{
  randomSeed(analogRead(0));

// Setup the LCD
  myGLCD.InitLCD();
  myGLCD.InitLCD();//Initializes twice to improve reliability
  myGLCD.setFont(SmallFont);
  myGLCD.clrScr();
}

void loop()
{
  int buf[218];
  int x, x2;
  int y, y2;
  int r;

  // Clear the screen and draw the frame
  myGLCD.clrScr();
  myGLCD.setColor(255, 0, 0);
  myGLCD.fillRect(0, 0, 219, 13);
  myGLCD.setColor(64, 64, 64);
  myGLCD.fillRect(0, 162, 219, 175);
  myGLCD.setColor(255, 255, 255);
  myGLCD.setBackColor(255, 0, 0);
  myGLCD.print("** Dark Photon Weather Station **", CENTER, 1);
  myGLCD.setBackColor(64, 64, 64);
  myGLCD.setColor(255,255,0);
  myGLCD.print("> www.darkphotonworks.com <", CENTER, 163);


  //print out DHT Humidity readings
  int chk = DHT.read11(DHT11_PIN);


  switch (chk)
  {
    case DHTLIB_OK:
    myGLCD.print("** DHT11 Reading OK **", CENTER, 30);
    break;
    case DHTLIB_ERROR_CHECKSUM:
    myGLCD.print("** DHT11 Reading Checksum Error **", CENTER, 30);
    break;
    case DHTLIB_ERROR_TIMEOUT:
    myGLCD.print("** DHT11 Timeout Error **", CENTER, 30);
    break;
    default:
    myGLCD.print("** DHT11 Unknown Error **", CENTER, 30);
    break;
  }

  myGLCD.print("Humidity: ",CENTER, 80);

  char buffer [33];
  char *humidity = itoa(DHT.humidity, buffer, 10);
  myGLCD.print(humidity,CENTER, 90);


  myGLCD.setColor(0, 0, 255);
  myGLCD.drawRect(0, 14, 219, 161);
  delay (5000);


  //clear screen and redraw frame:

  myGLCD.clrScr();
  myGLCD.setColor(255, 0, 0);
  myGLCD.fillRect(0, 0, 219, 13);
  myGLCD.setColor(64, 64, 64);
  myGLCD.fillRect(0, 162, 219, 175);
  myGLCD.setColor(255, 255, 255);
  myGLCD.setBackColor(255, 0, 0);
  myGLCD.print("** Dark Photon Weather Station **", CENTER, 1);
  myGLCD.setBackColor(64, 64, 64);
  myGLCD.setColor(255,255,0);
  myGLCD.print("> www.darkphotonworks.com <", CENTER, 163);


  switch (chk)
  {
    case DHTLIB_OK:
    myGLCD.print("** DHT11 Reading OK **", CENTER, 30);
    break;
    case DHTLIB_ERROR_CHECKSUM:
    myGLCD.print("** DHT11 Reading Checksum Error **", CENTER, 30);
    break;
    case DHTLIB_ERROR_TIMEOUT:
    myGLCD.print("** DHT11 Timeout Error **", CENTER, 30);
    break;
    default:
    myGLCD.print("** DHT11 Unknown Error **", CENTER, 30);
    break;
  }

  // print out temp readings
  myGLCD.print("Temperature: ",CENTER, 80);

  char buffer1 [33];
  char *temp = itoa(DHT.temperature, buffer1, 10);
  myGLCD.print(temp,CENTER, 90);


  myGLCD.setColor(0, 0, 255);
  myGLCD.drawRect(0, 14, 219, 161);
  delay (5000);


  //clear screen and redraw frame:

  myGLCD.clrScr();
  myGLCD.setColor(255, 0, 0);
  myGLCD.fillRect(0, 0, 219, 13);
  myGLCD.setColor(64, 64, 64);
  myGLCD.fillRect(0, 162, 219, 175);
  myGLCD.setColor(255, 255, 255);
  myGLCD.setBackColor(255, 0, 0);
  myGLCD.print("** Dark Photon Weather Station **", CENTER, 1);
  myGLCD.setBackColor(64, 64, 64);
  myGLCD.setColor(255,255,0);
  myGLCD.print("> www.darkphotonworks.com <", CENTER, 163);
  // print out gas levels
  myGLCD.print("Gas Level: ",CENTER, 80);

  int iSensorValue = analogRead(A8);
  char gasBuffer [33];
  char *myGas = itoa(iSensorValue, gasBuffer, 10);

  myGLCD.print(myGas,CENTER, 90);
  delay (5000);

}
PiTurretCam: Beta Demo \w Software /
Continuing to work on the PiTurretCam project. Previously I demonstrated the basic hardware configuration, wiring, and was able to demonstrate functionality by manually executing commands in the console. Ultimately, I envisioned a light weight service which handles the ugly details of moving the servo and running commands against the camera. A service that allows for the end user to send a simple set of commands to interact with the device, or even a graphical user interface. This past week I had some time to start mapping out and coding up the service(s). The language of choice here was Ruby (familiarity). A set of custom modules and classes were drafted and coded to support the various actions and attributes associated with operating a camera and servo. The popular community gem event machine loads the classes and responds to a TCP port to a simplified set of commands that open a wide array of hardware control an end user. A secondary service (sinatra application) provides a simple RESTful API as well as an index page equipped with logic to interact with said API. The basic functionality currently provided are, turret motion, camera control, soon to come features are storage management, more granular control of the camera and it's features, wi-fi (separate from the software side but much needed, I mean, what is a camera that doesn't move?), self configuration and image/video post processing.
The software is currently still in an early beta mode, as is the hardware configuration. In the near future the existing servo will change to a step motor which moves the camera, this will provide a 360 degree view port and make the device all around more usable. I also did some investigation on the length of CSI cables (or limitations of length before degrading signals) - it seems people have gotten upwards 1 meter to work, I simply need enough to clear the 360 degree turn without stretching or bending the cable, and a meter is plenty. Not only that, I located a sturdy CSI extension cable on a random Polish web site for dirt cheap, so they are on the way.

Pi Turret Cam now has a logo ^_^
Demonstration of CLI and Web client.
All code for PiTurretCam is tracked on github under the darkphotonworks organization under piturretcam repository.
Mood/Reading Lights (PI Powered) /
LED Strip powered by external 12 Volt power supply, common ground with Rasberry Pi B+ model, MOSFET voltage regulator chips between Red/Green/Blue channels. == Reading / Mood Lights!! Would be nice to sync them to some music.
The Best Office Setup /
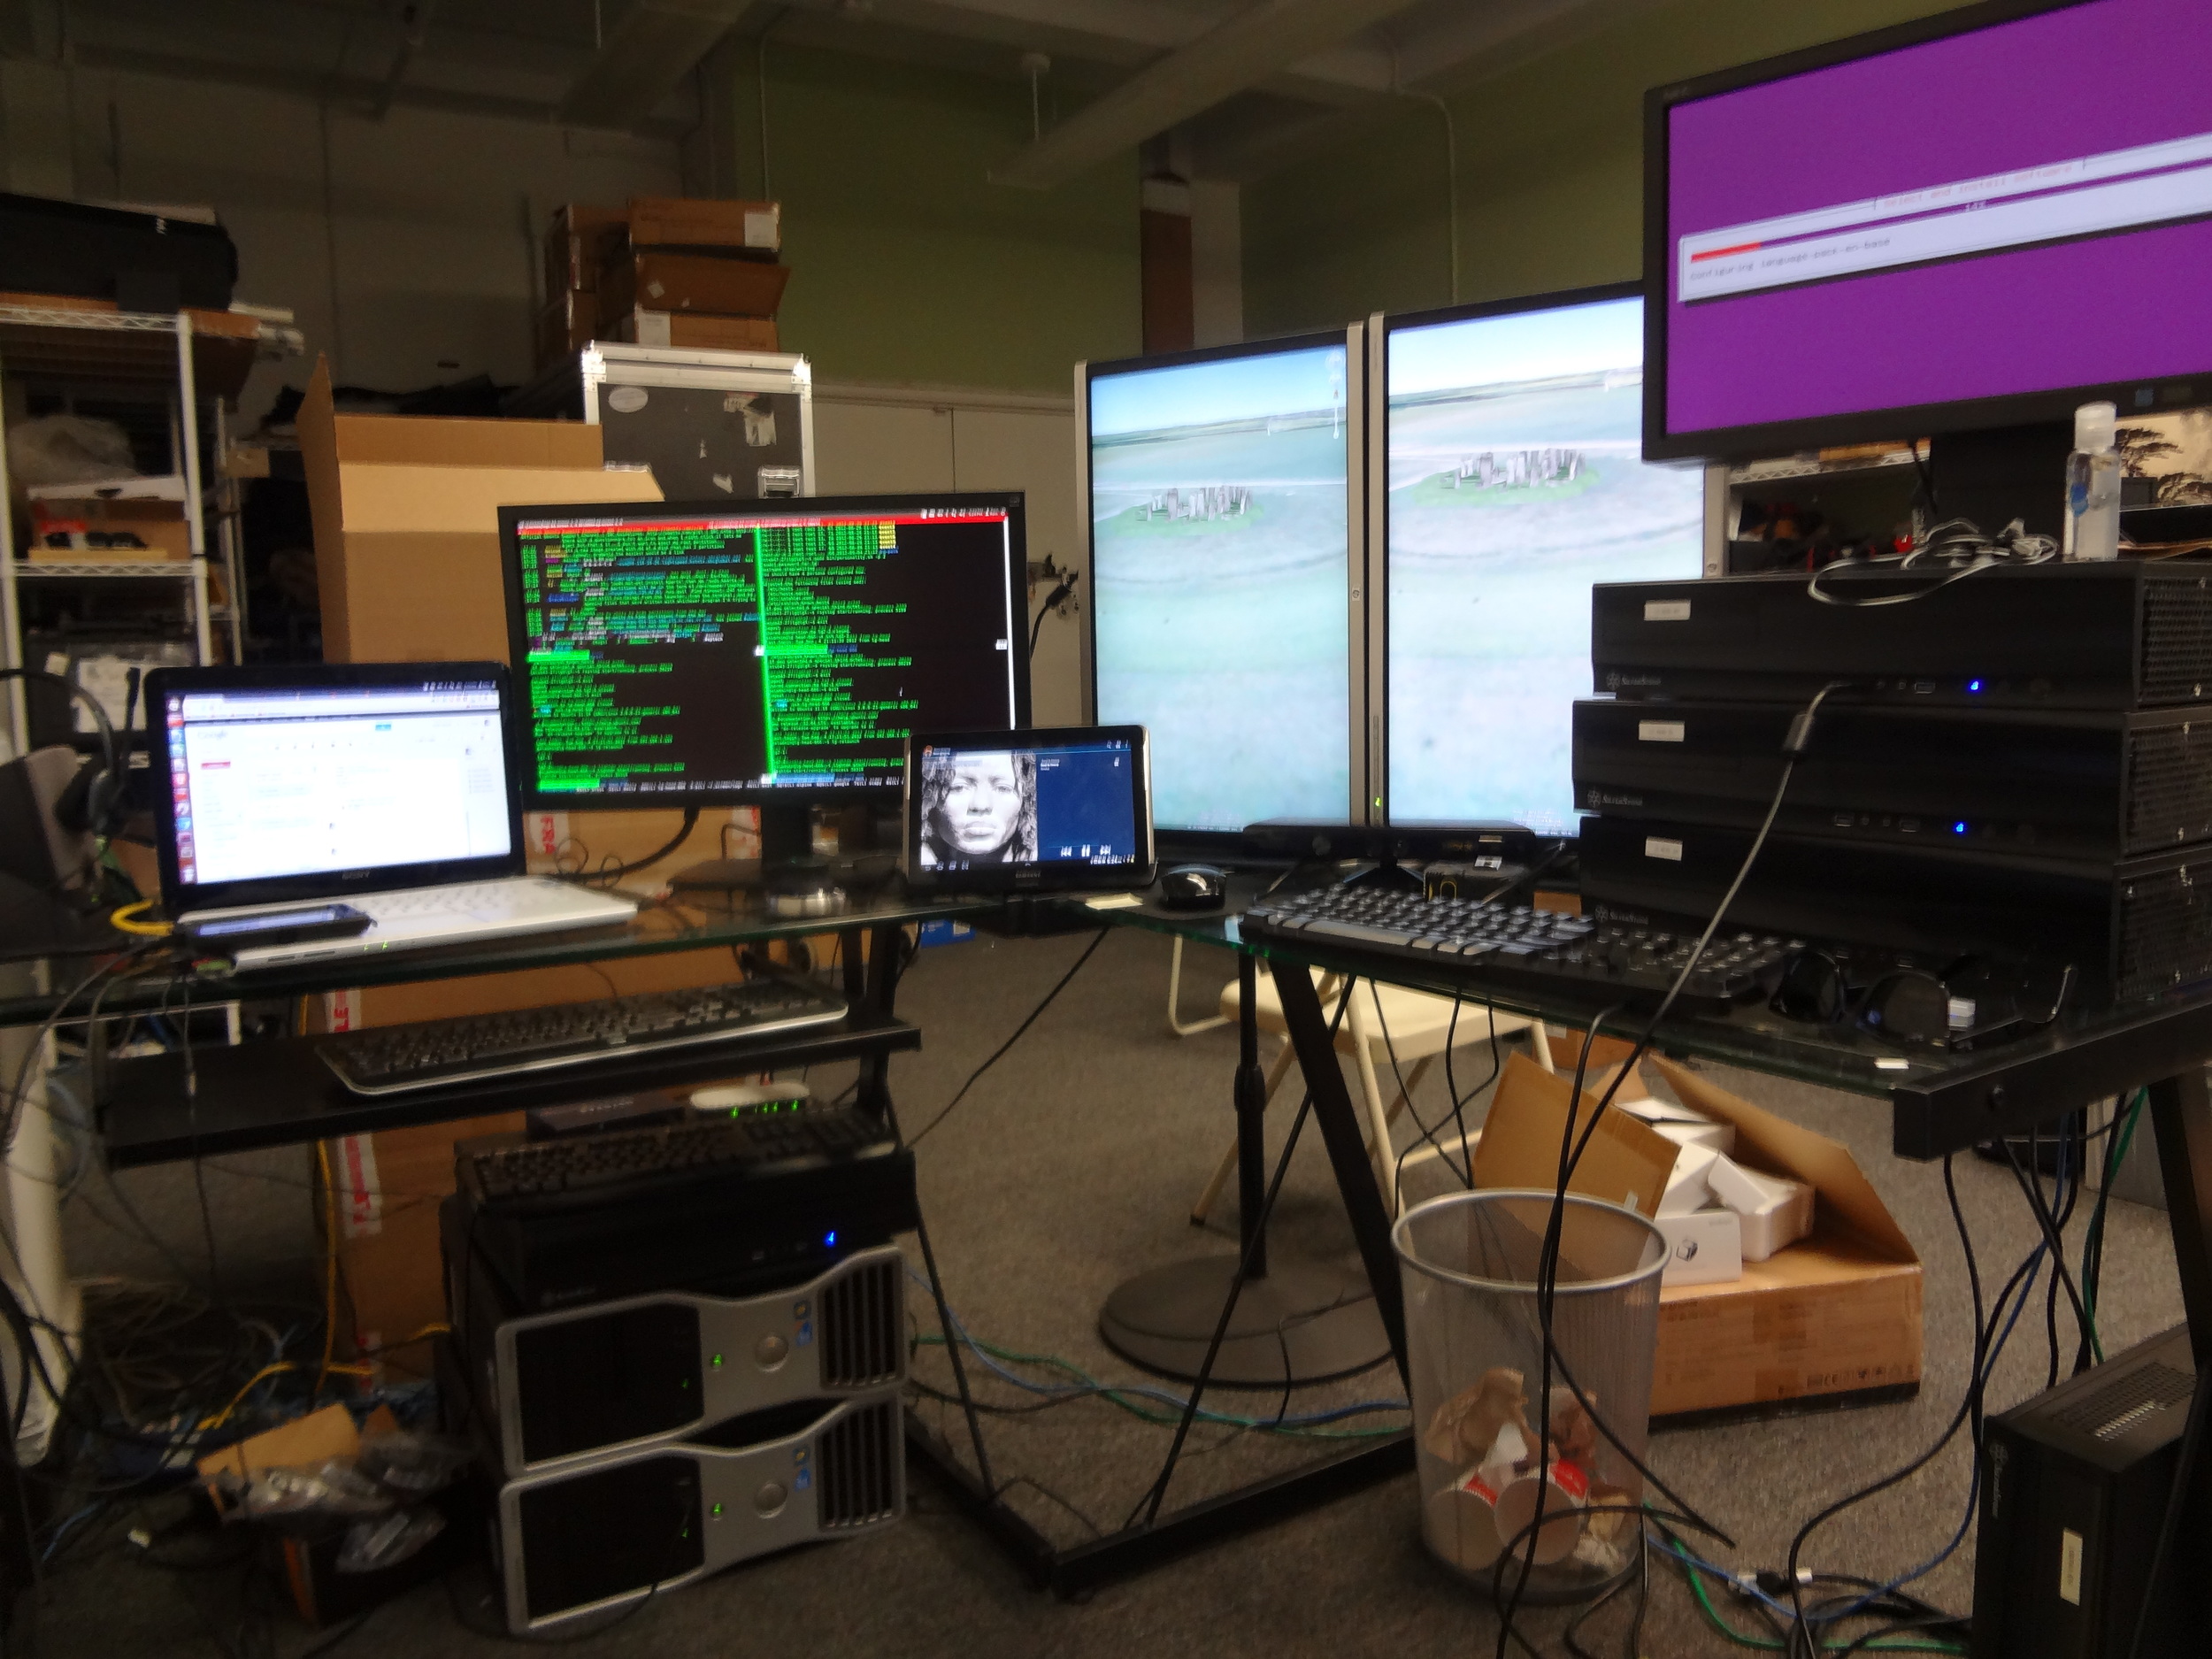
This was my setup at Endpoint. #beepboopbeepboop
RDP Packet of Death (?) /
Proof of concept execution of an exploit which takes advantage of the RDP Maximum Channel ID's bug. This flaw is highly dangerous for example if enabled on a LAN where a party with nefarious purposes is present. The risk in this flaw lies in it's ability to invoke a blue screen (of death) in Windows versions up to 7. I haven't yet tested on Windows 8 but I will soon have it added to my lab for testing. I have run into situations where the vulnerability is not available, but it's on one of my co-workers PC's (he agreed to the testing), and I suspect he has some fancy routing work going on which disables the exploit.
Java Remote Signed Vulnerability /
Shining some light on an open and unresolved vulnerability in Java, this includes the latest java versions with all security patches applied. Here, I demonstrate the case where the user is provided a link to click through some sort of social engineering (covert link on web page, SMS Text, email, etc). When the user clicks the link, a remote exploit will be launched providing a shell to the users remote system. With shell established the user is now effectively under control of the would be hacker. Here, I display a rather juvenile exercise of changing the background of the remote system via covert shell access. #owned