tinkering

PiTurretCam: Beta Demo \w Software by Aaron Samuel

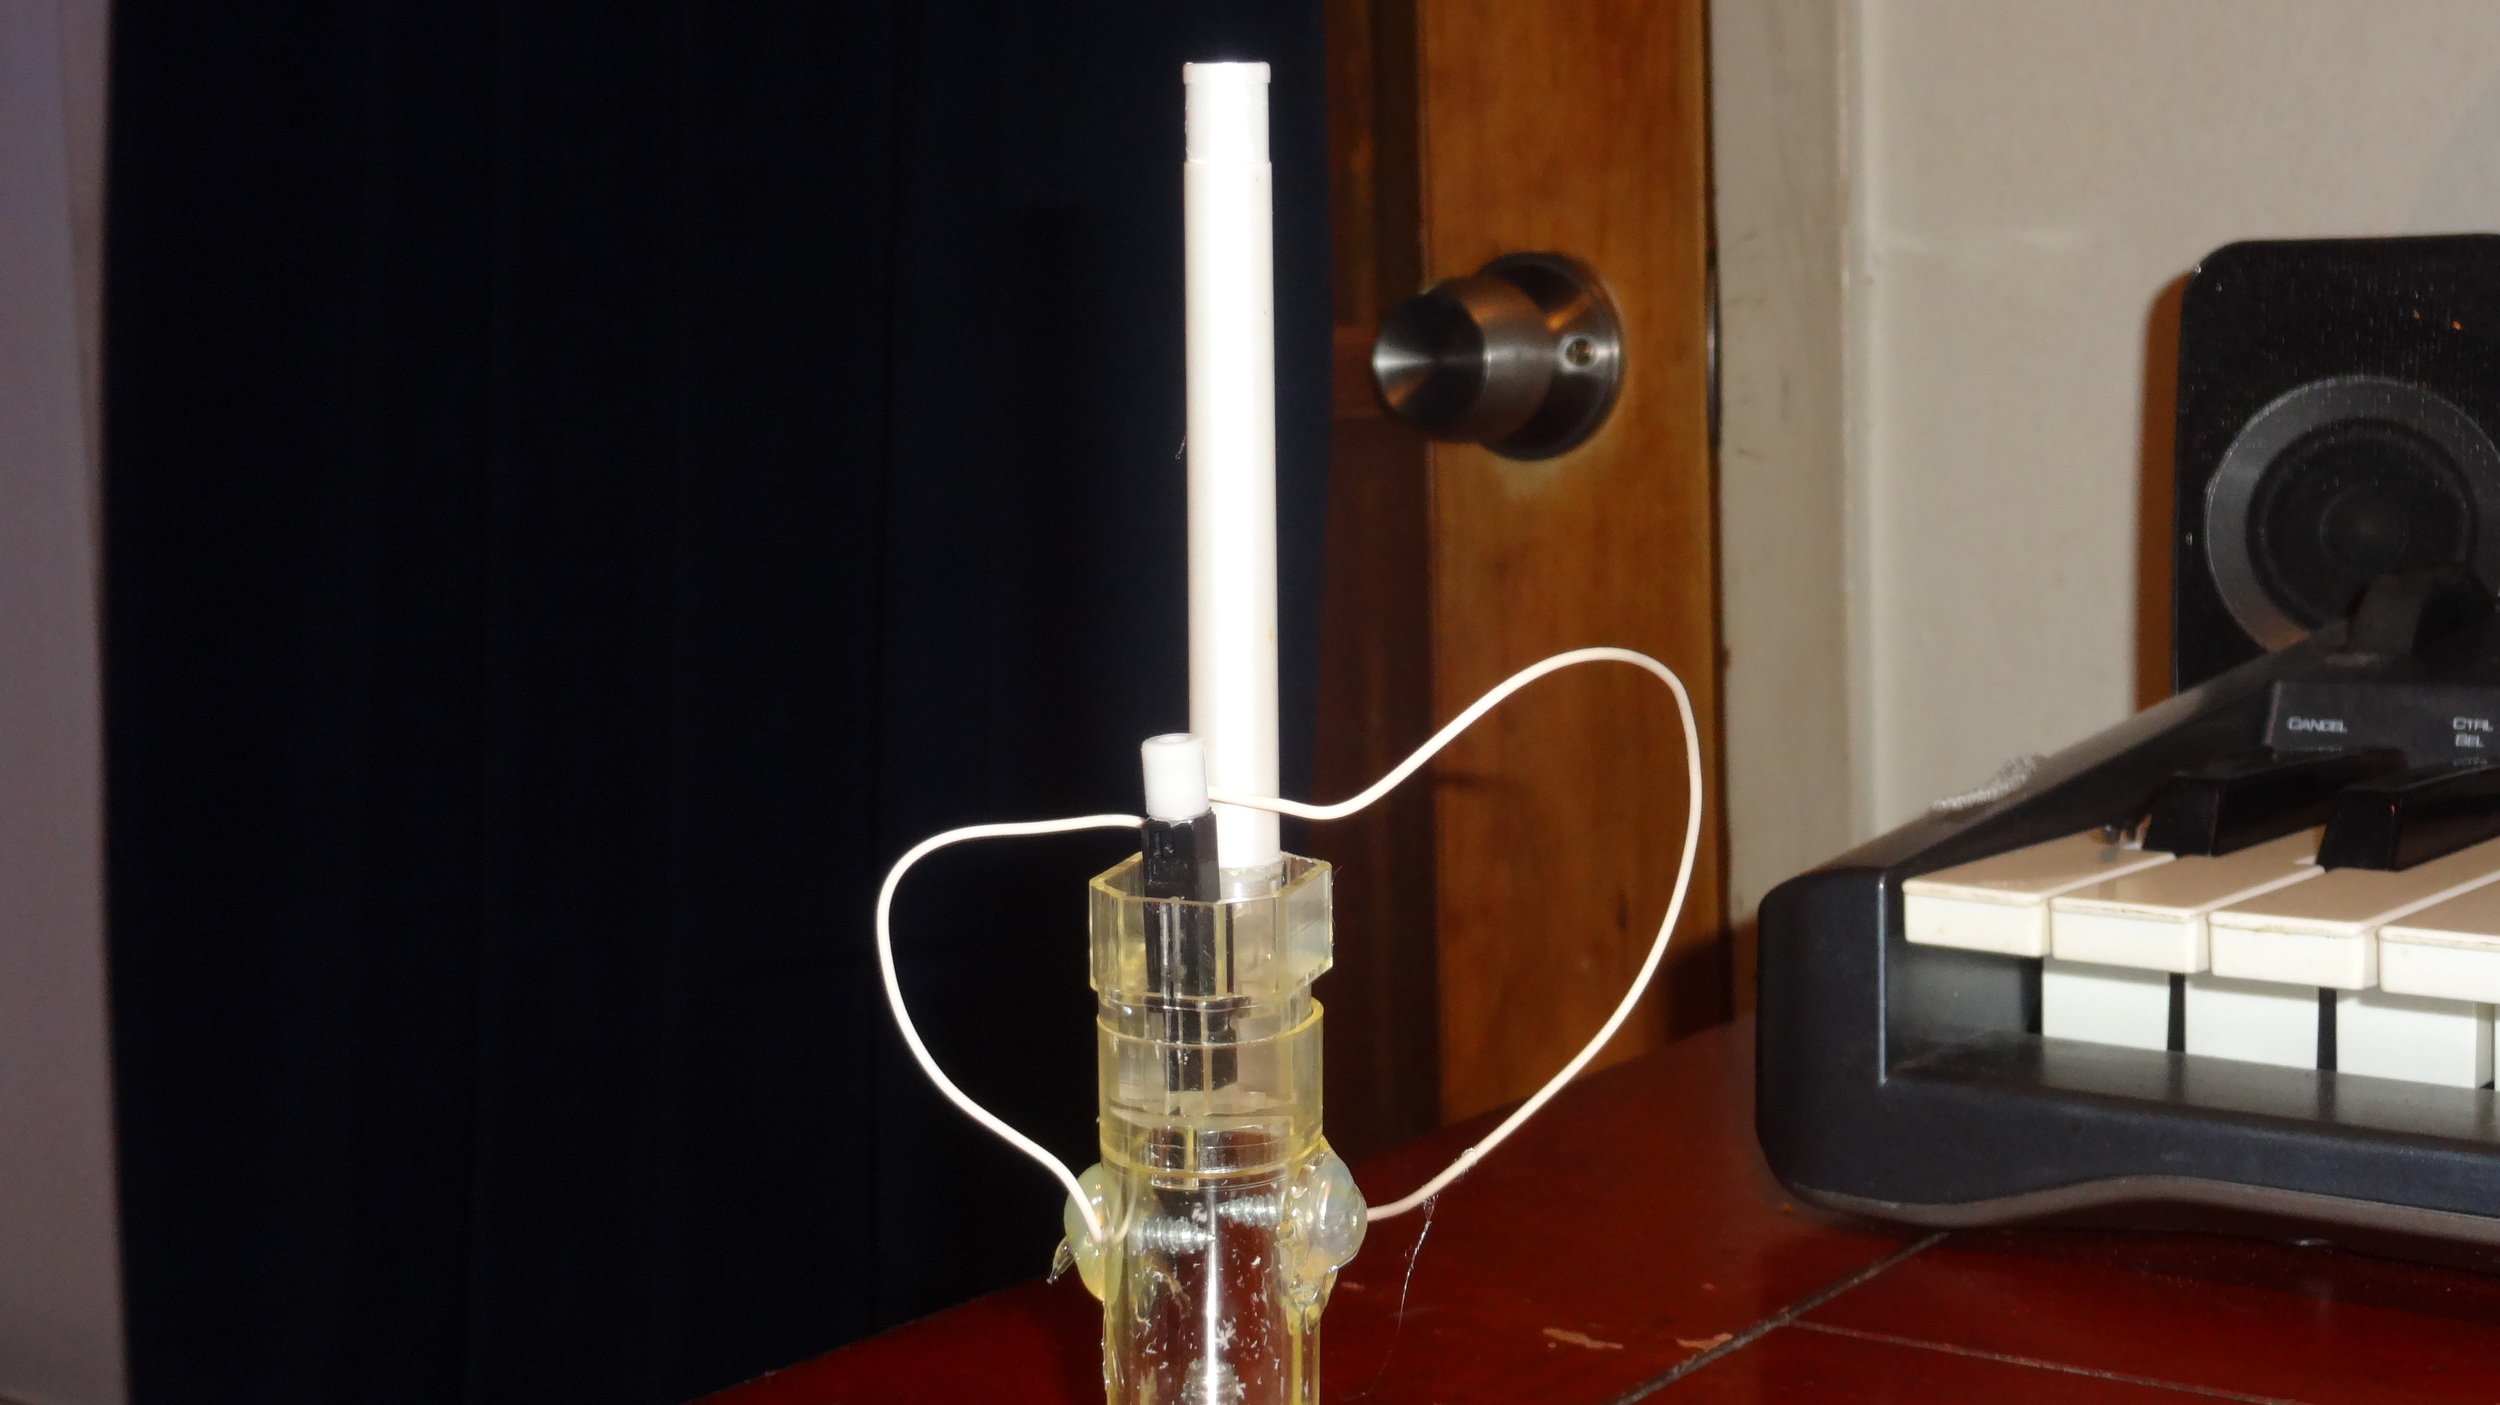
Continuing to work on the PiTurretCam project. Previously I demonstrated the basic hardware configuration, wiring, and was able to demonstrate functionality by manually executing commands in the console. Ultimately, I envisioned a light weight service which handles the ugly details of moving the servo and running commands against the camera. A service that allows for the end user to send a simple set of commands to interact with the device, or even a graphical user interface. This past week I had some time to start mapping out and coding up the service(s). The language of choice here was Ruby (familiarity). A set of custom modules and classes were drafted and coded to support the various actions and attributes associated with operating a camera and servo.  The popular community gem event machine loads the classes and responds to a TCP port to a simplified set of commands that open a wide array of hardware control an end user. A secondary service (sinatra application) provides a simple RESTful API as well as an index page equipped with logic to interact with said API. The basic functionality currently provided are, turret motion, camera control, soon to come features are storage management, more granular control of the camera and it's features, wi-fi (separate from the software side but much needed, I mean, what is a camera that doesn't move?), self configuration and image/video post processing.


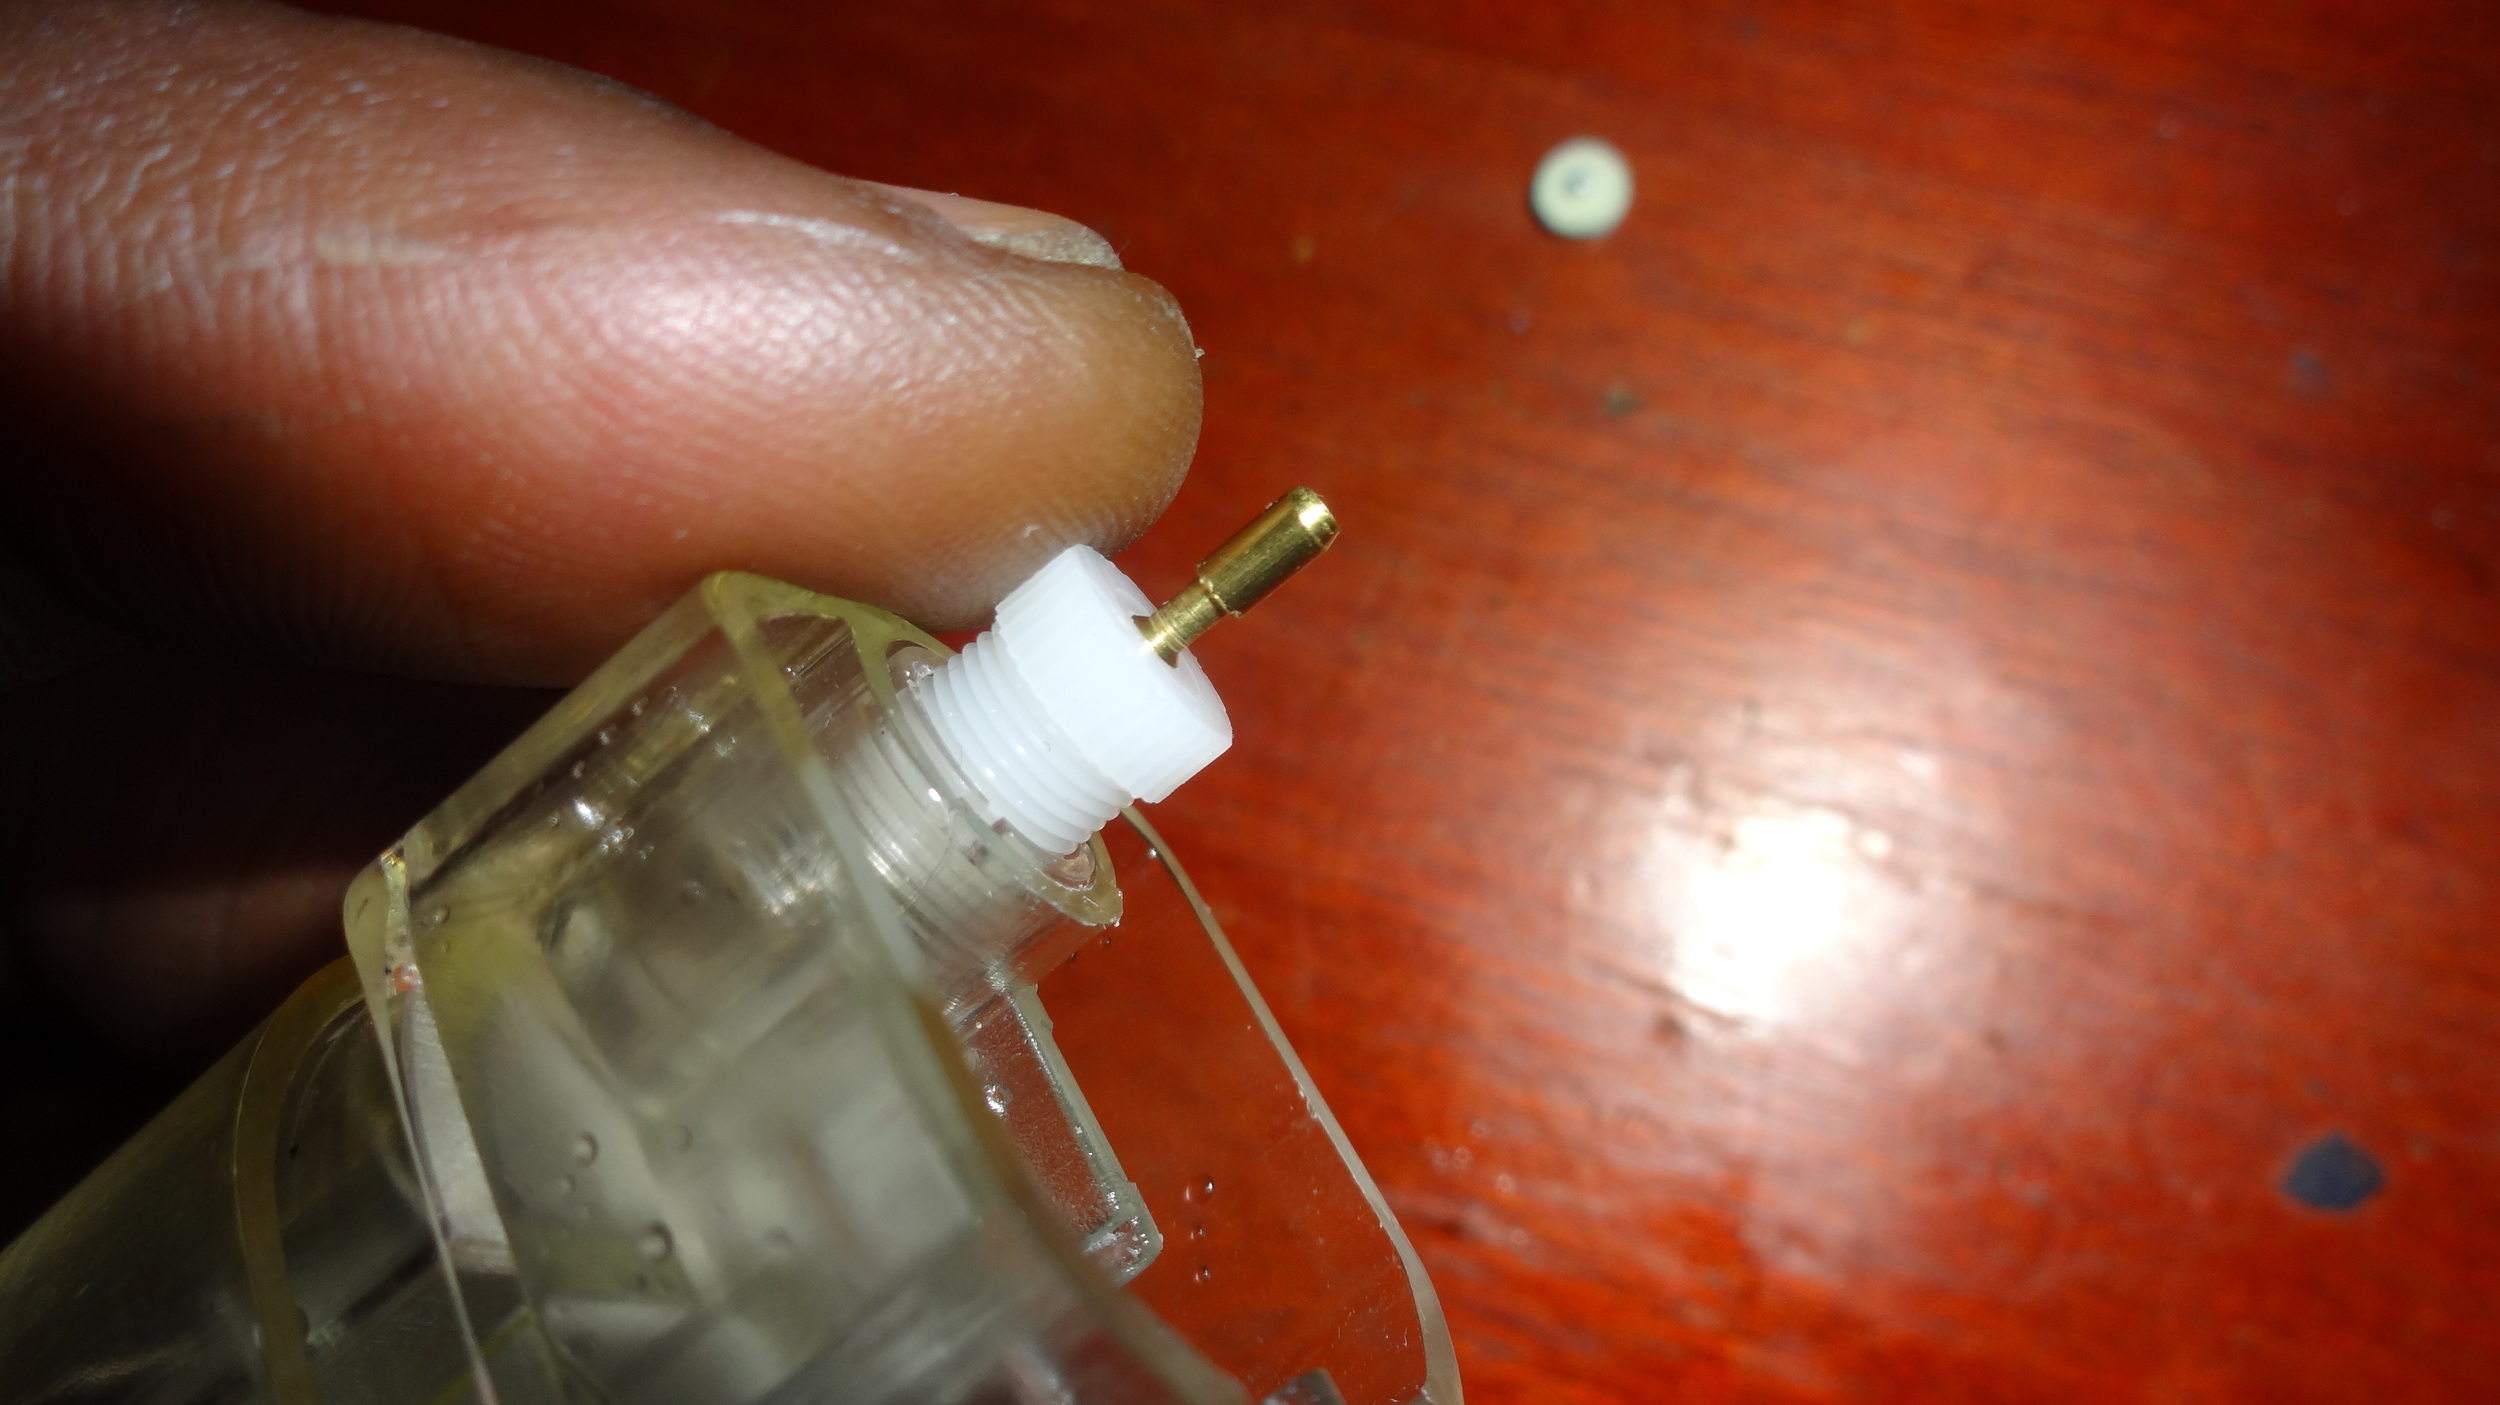
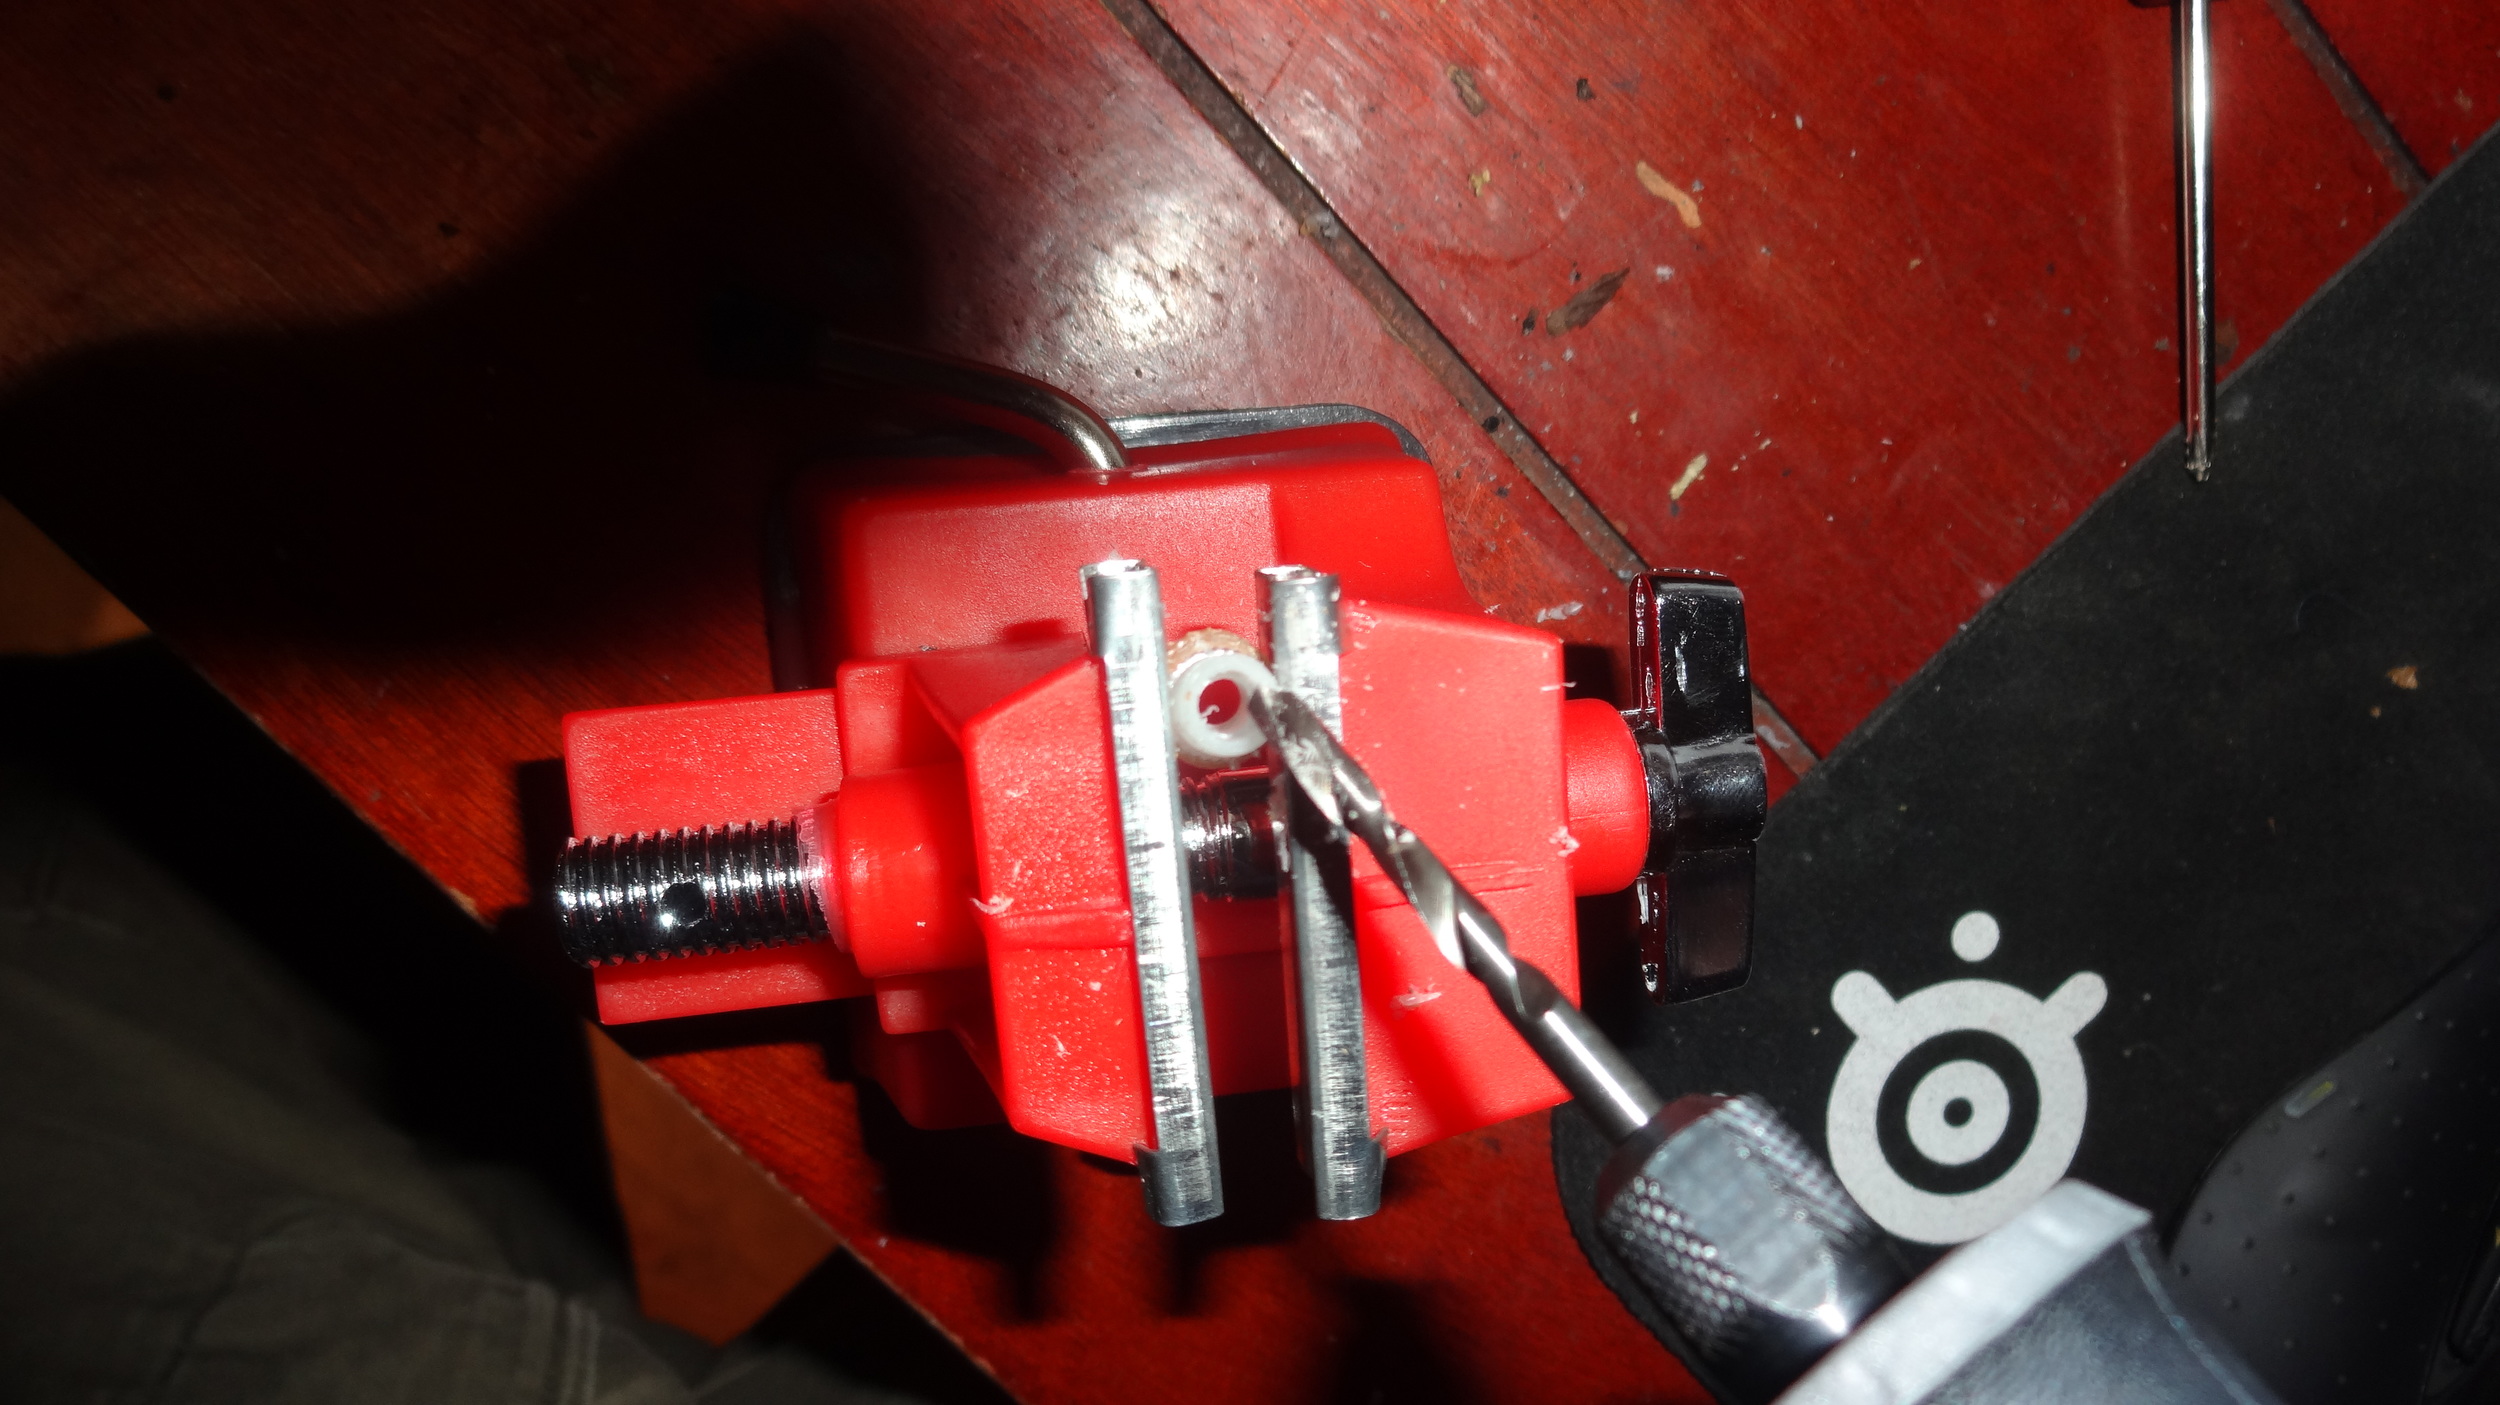
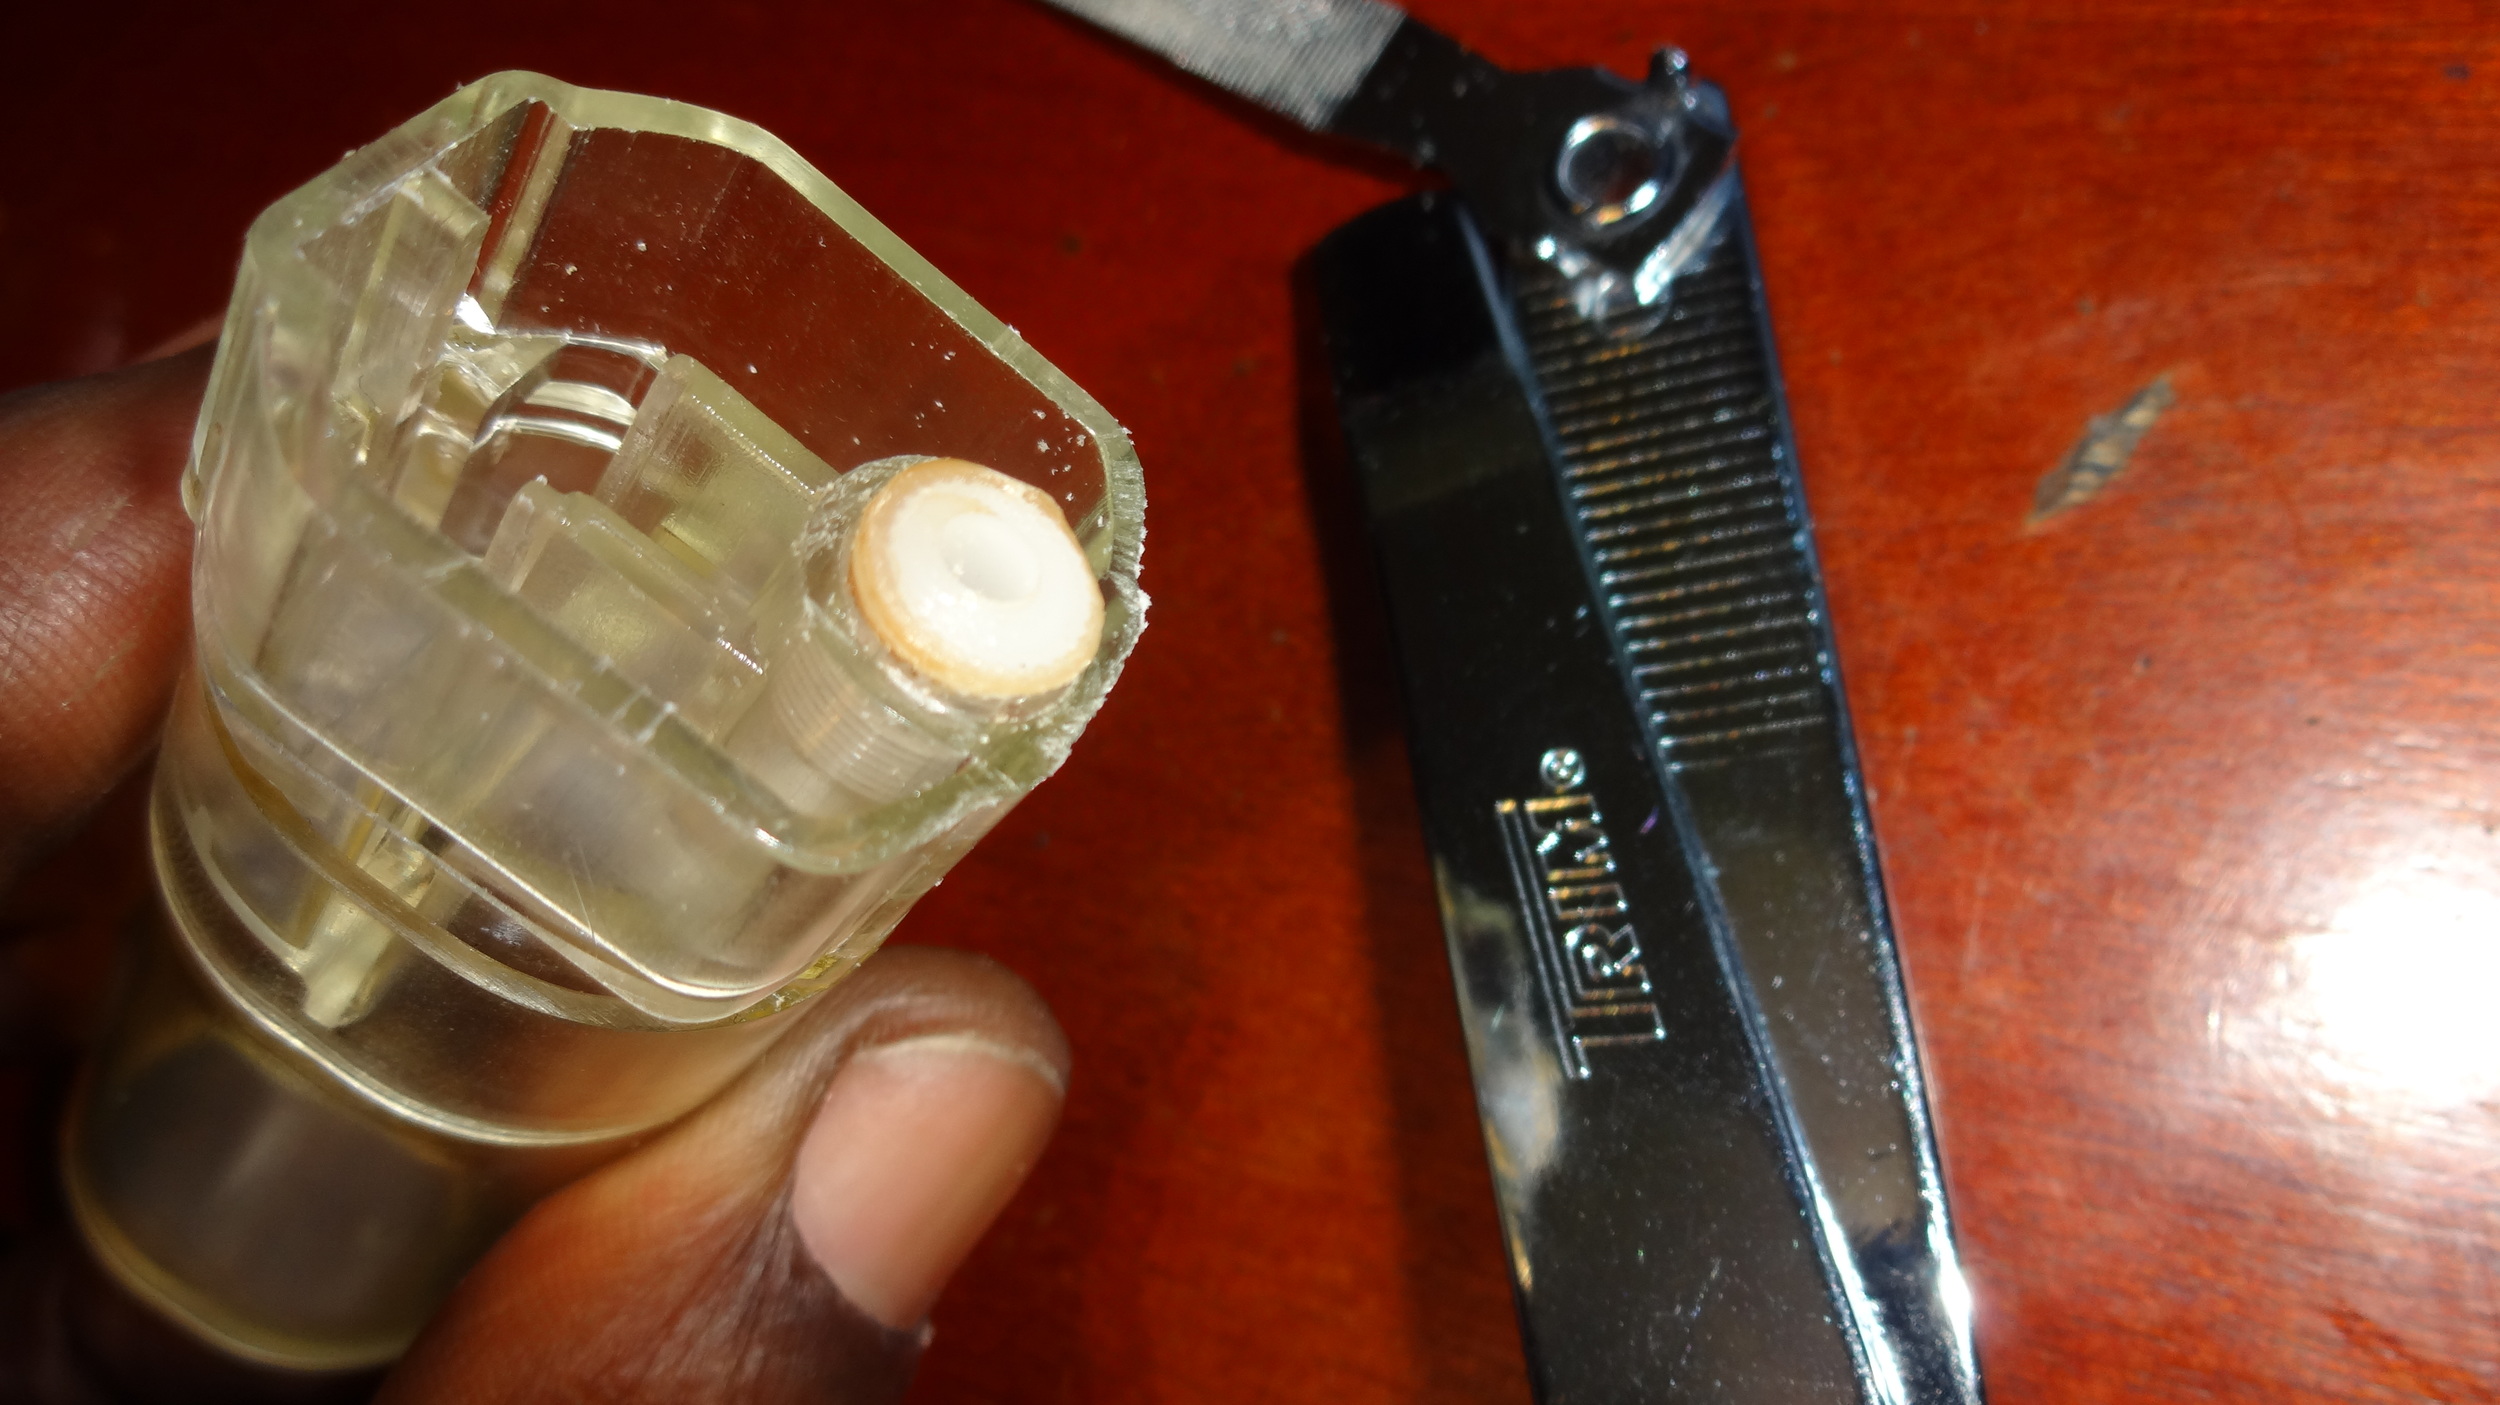
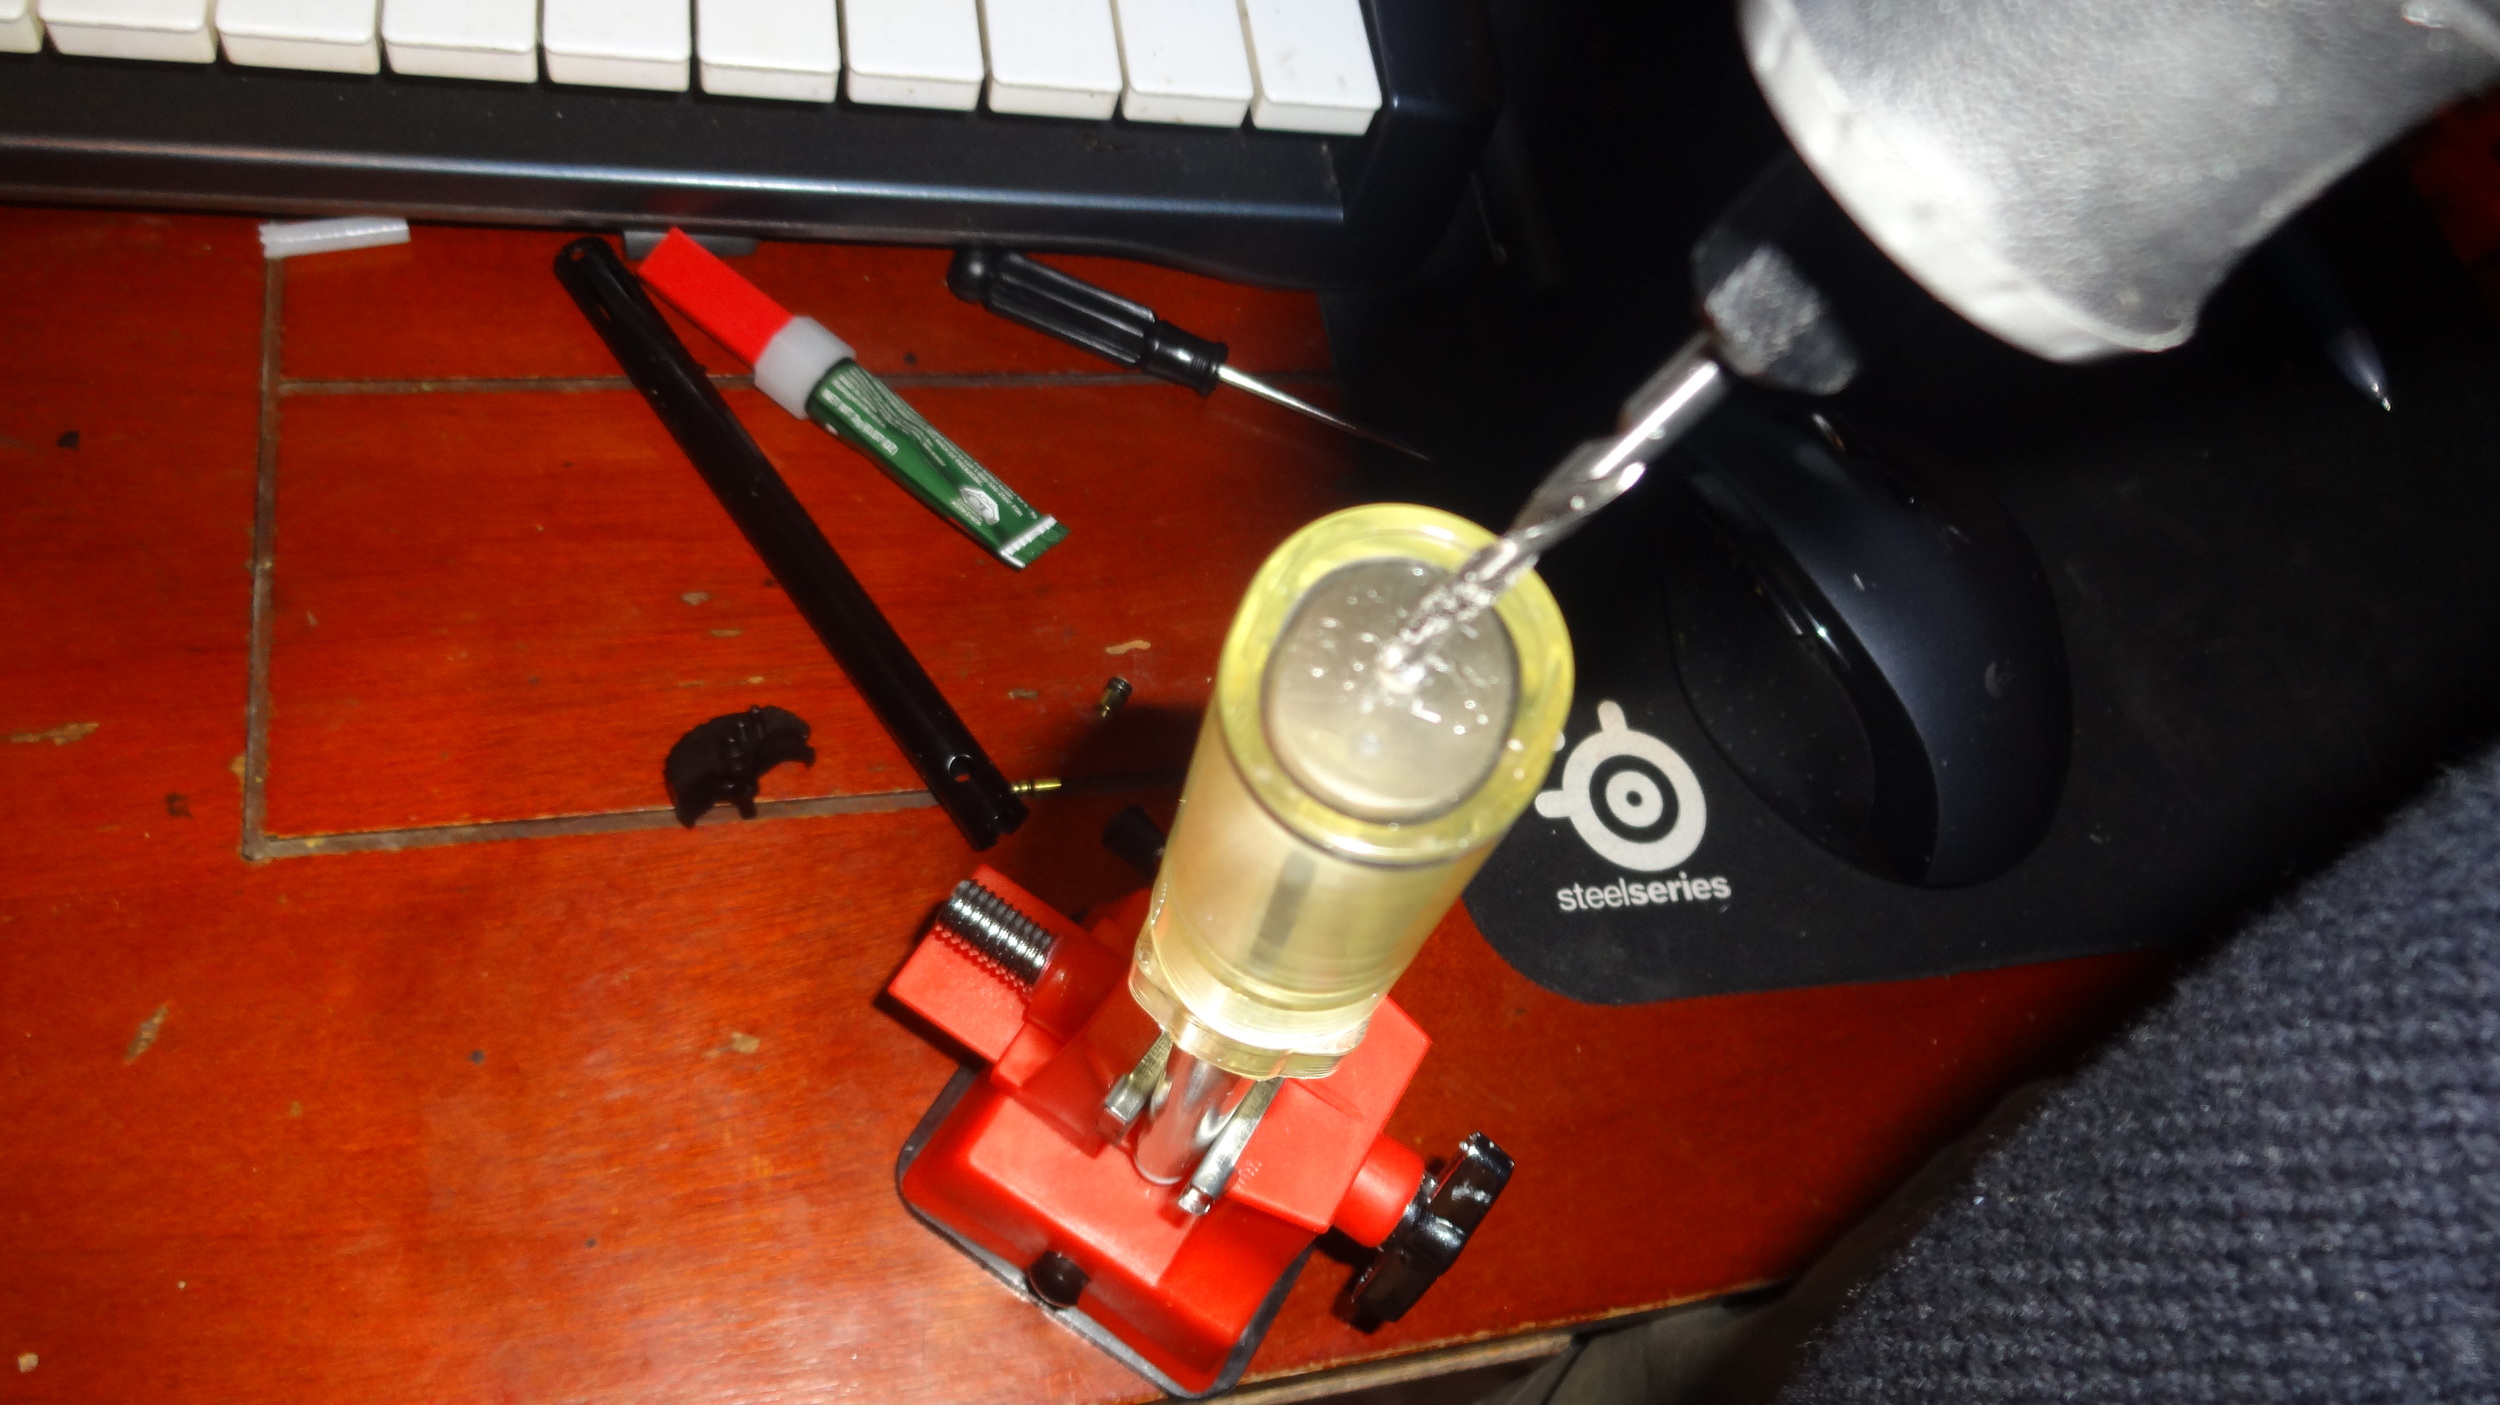
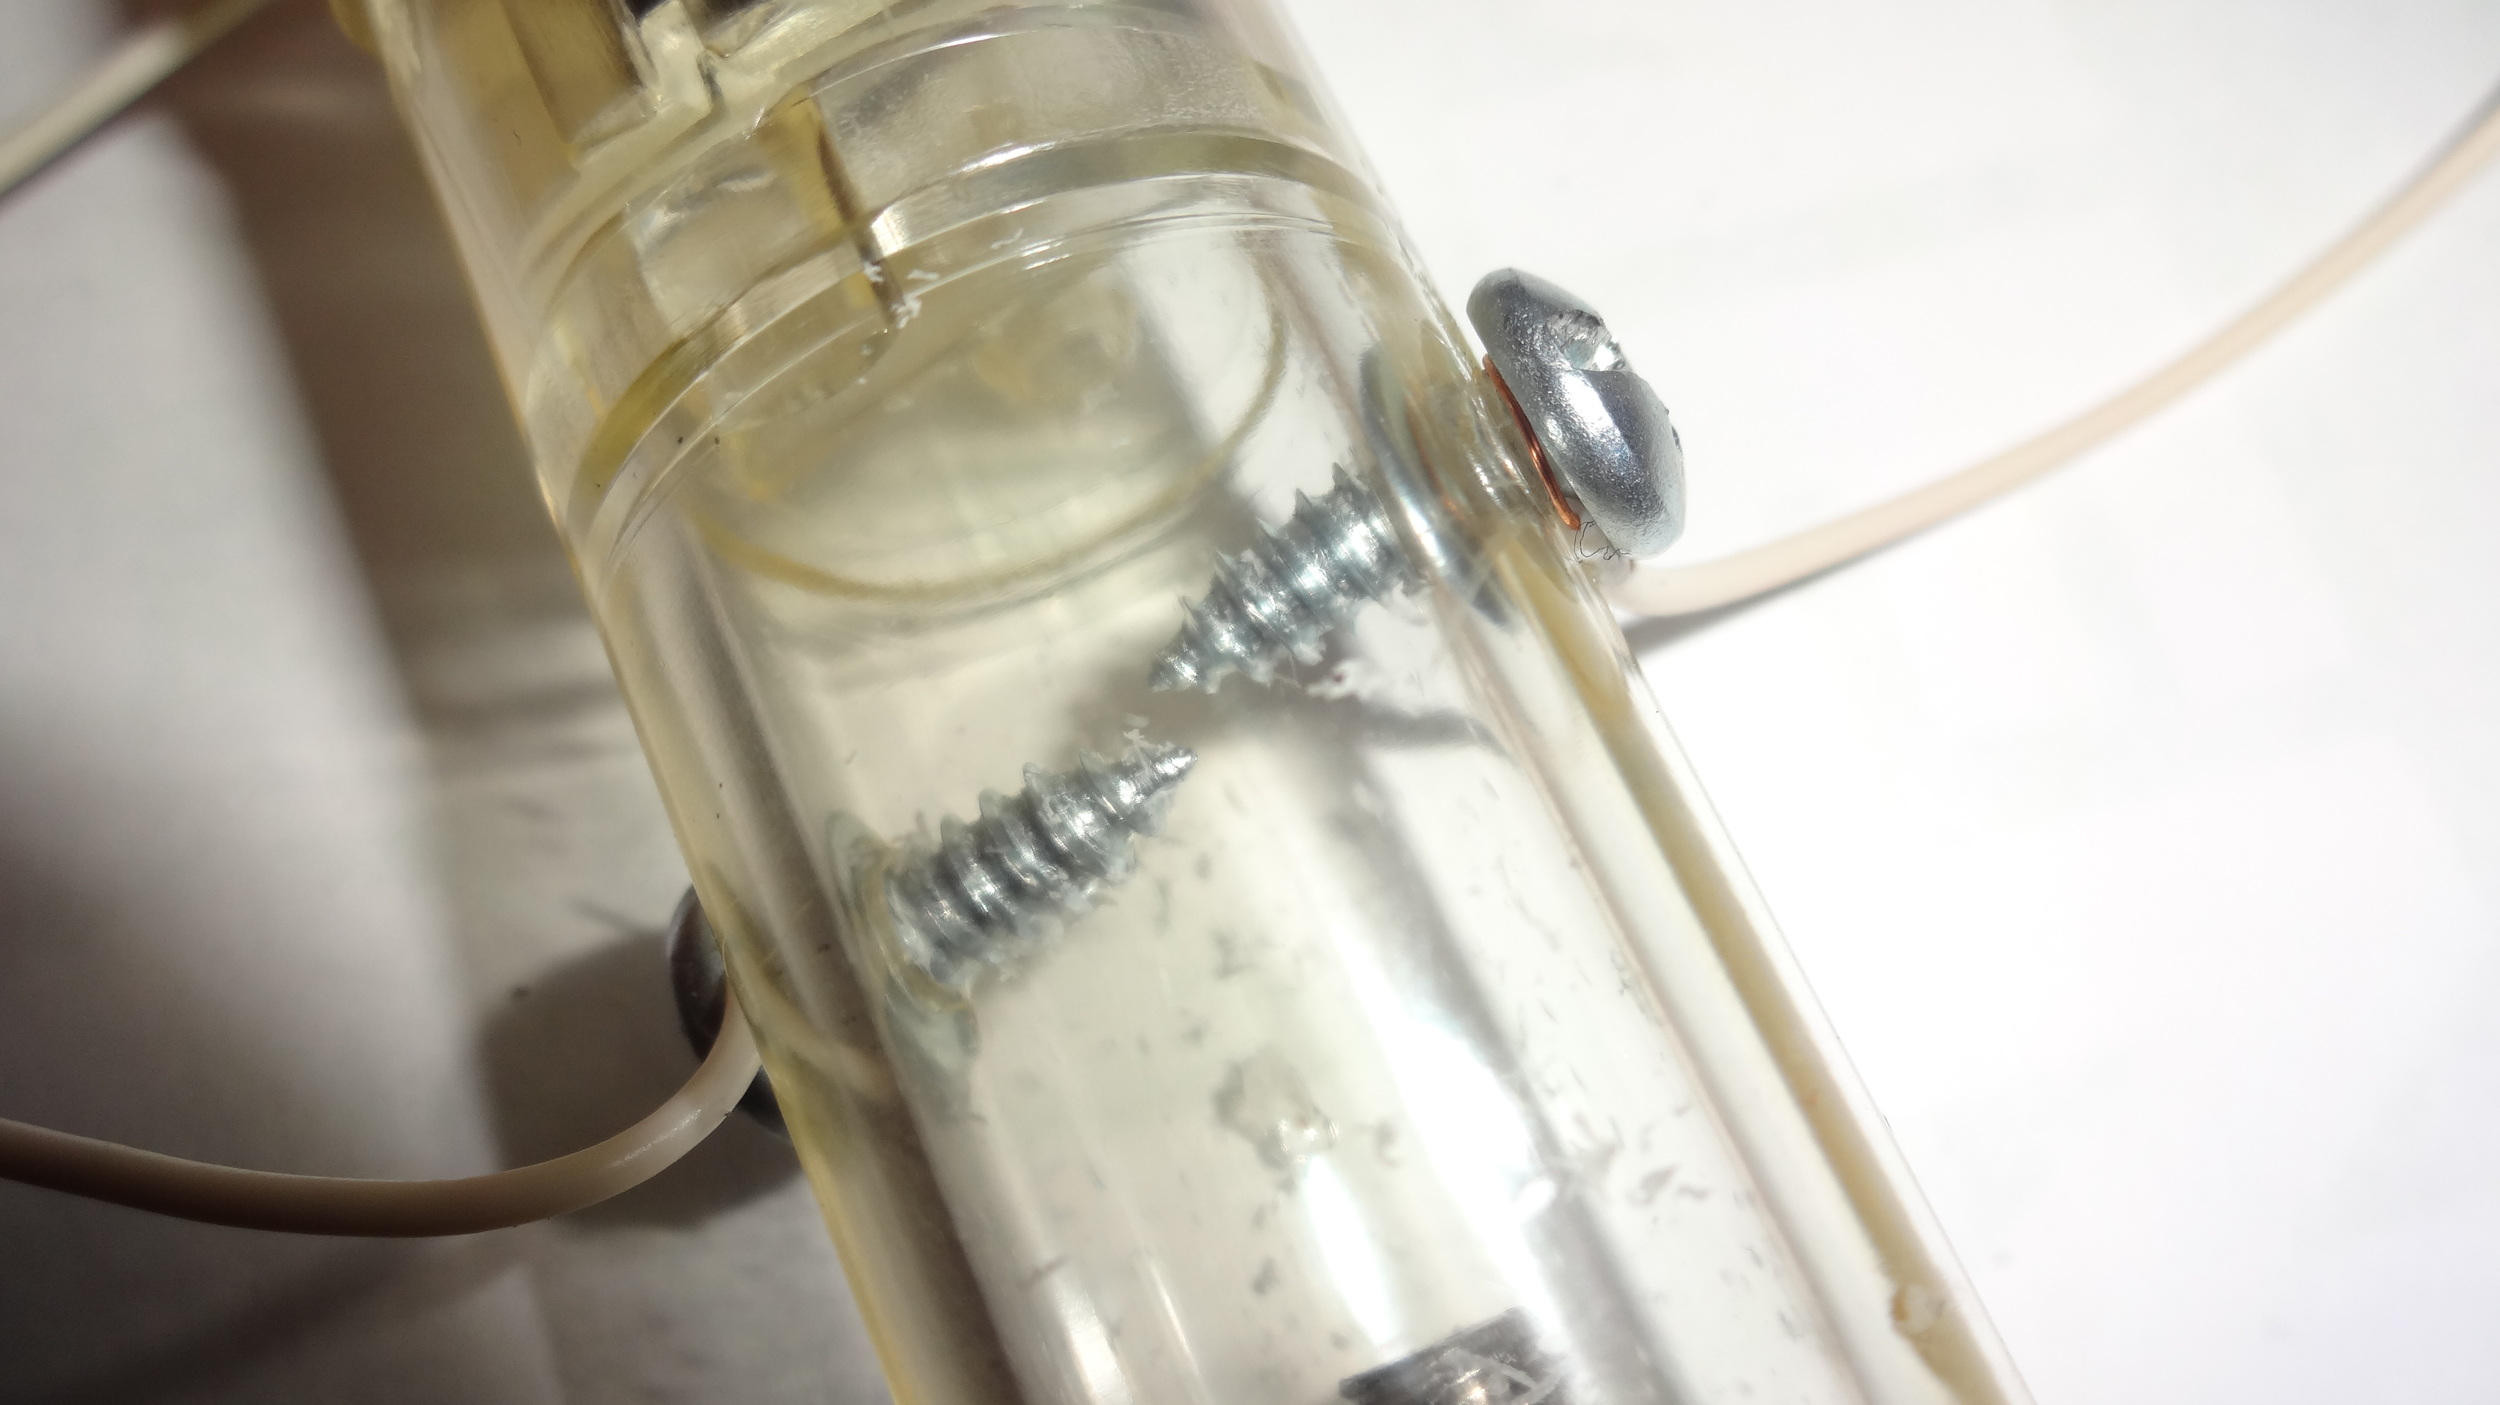
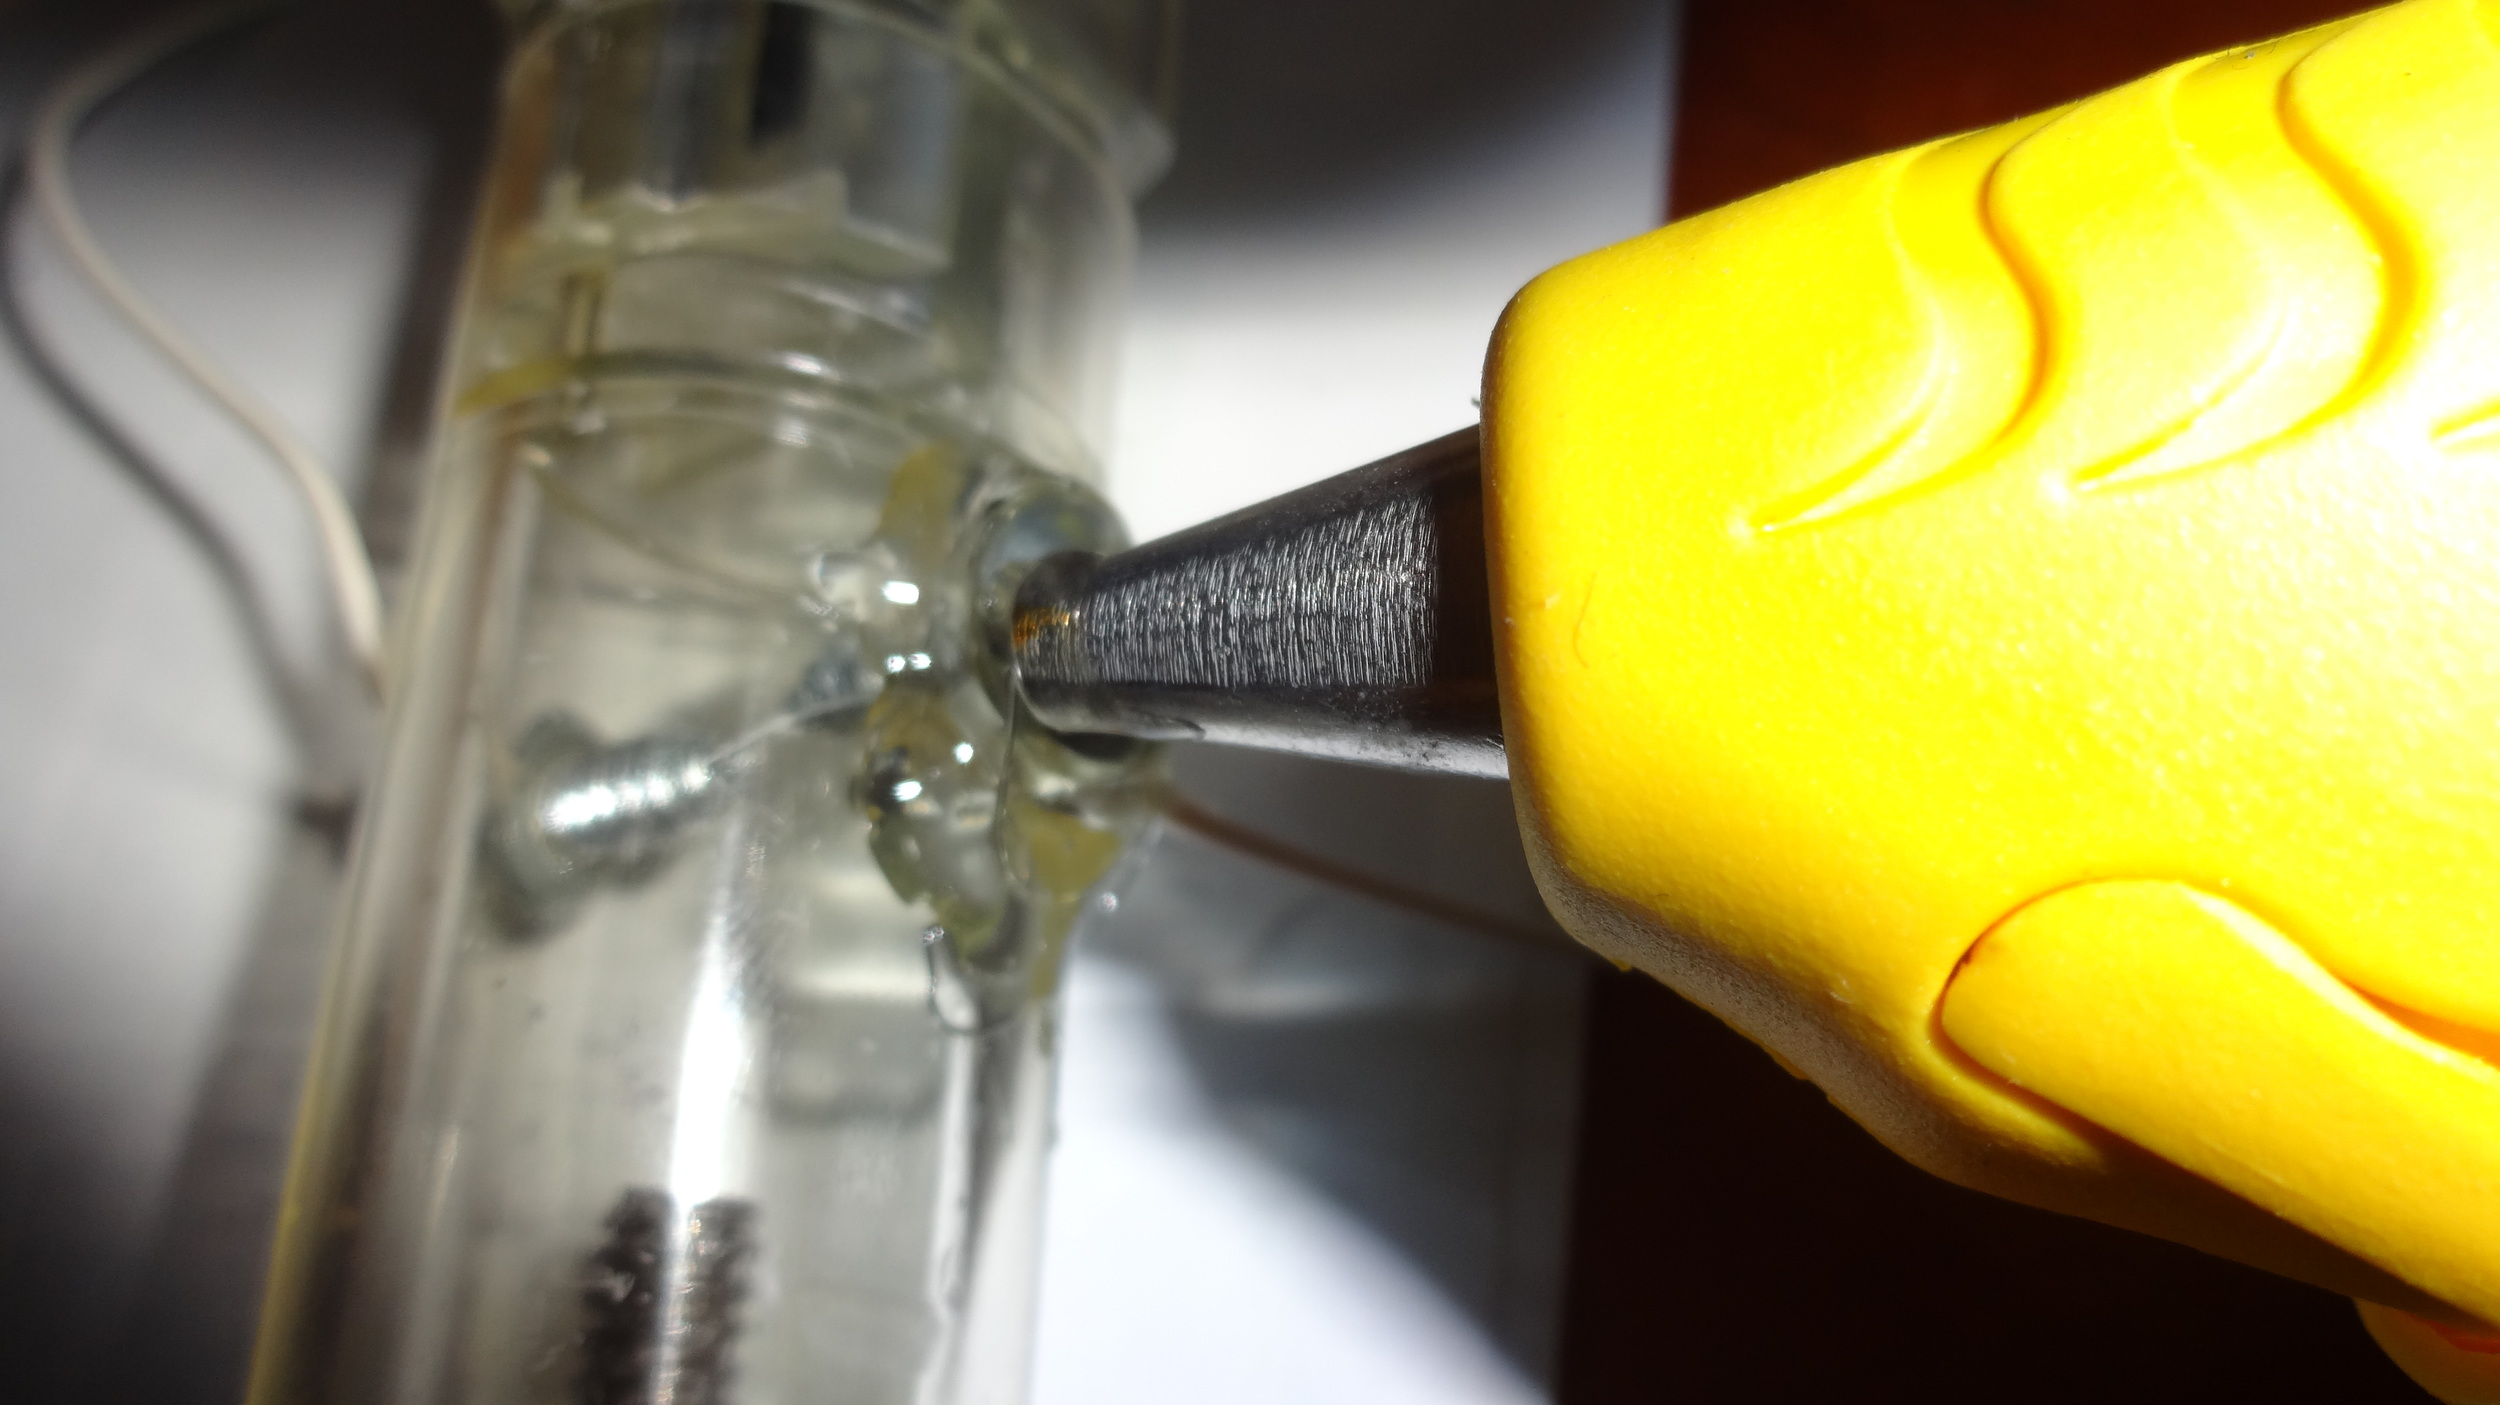
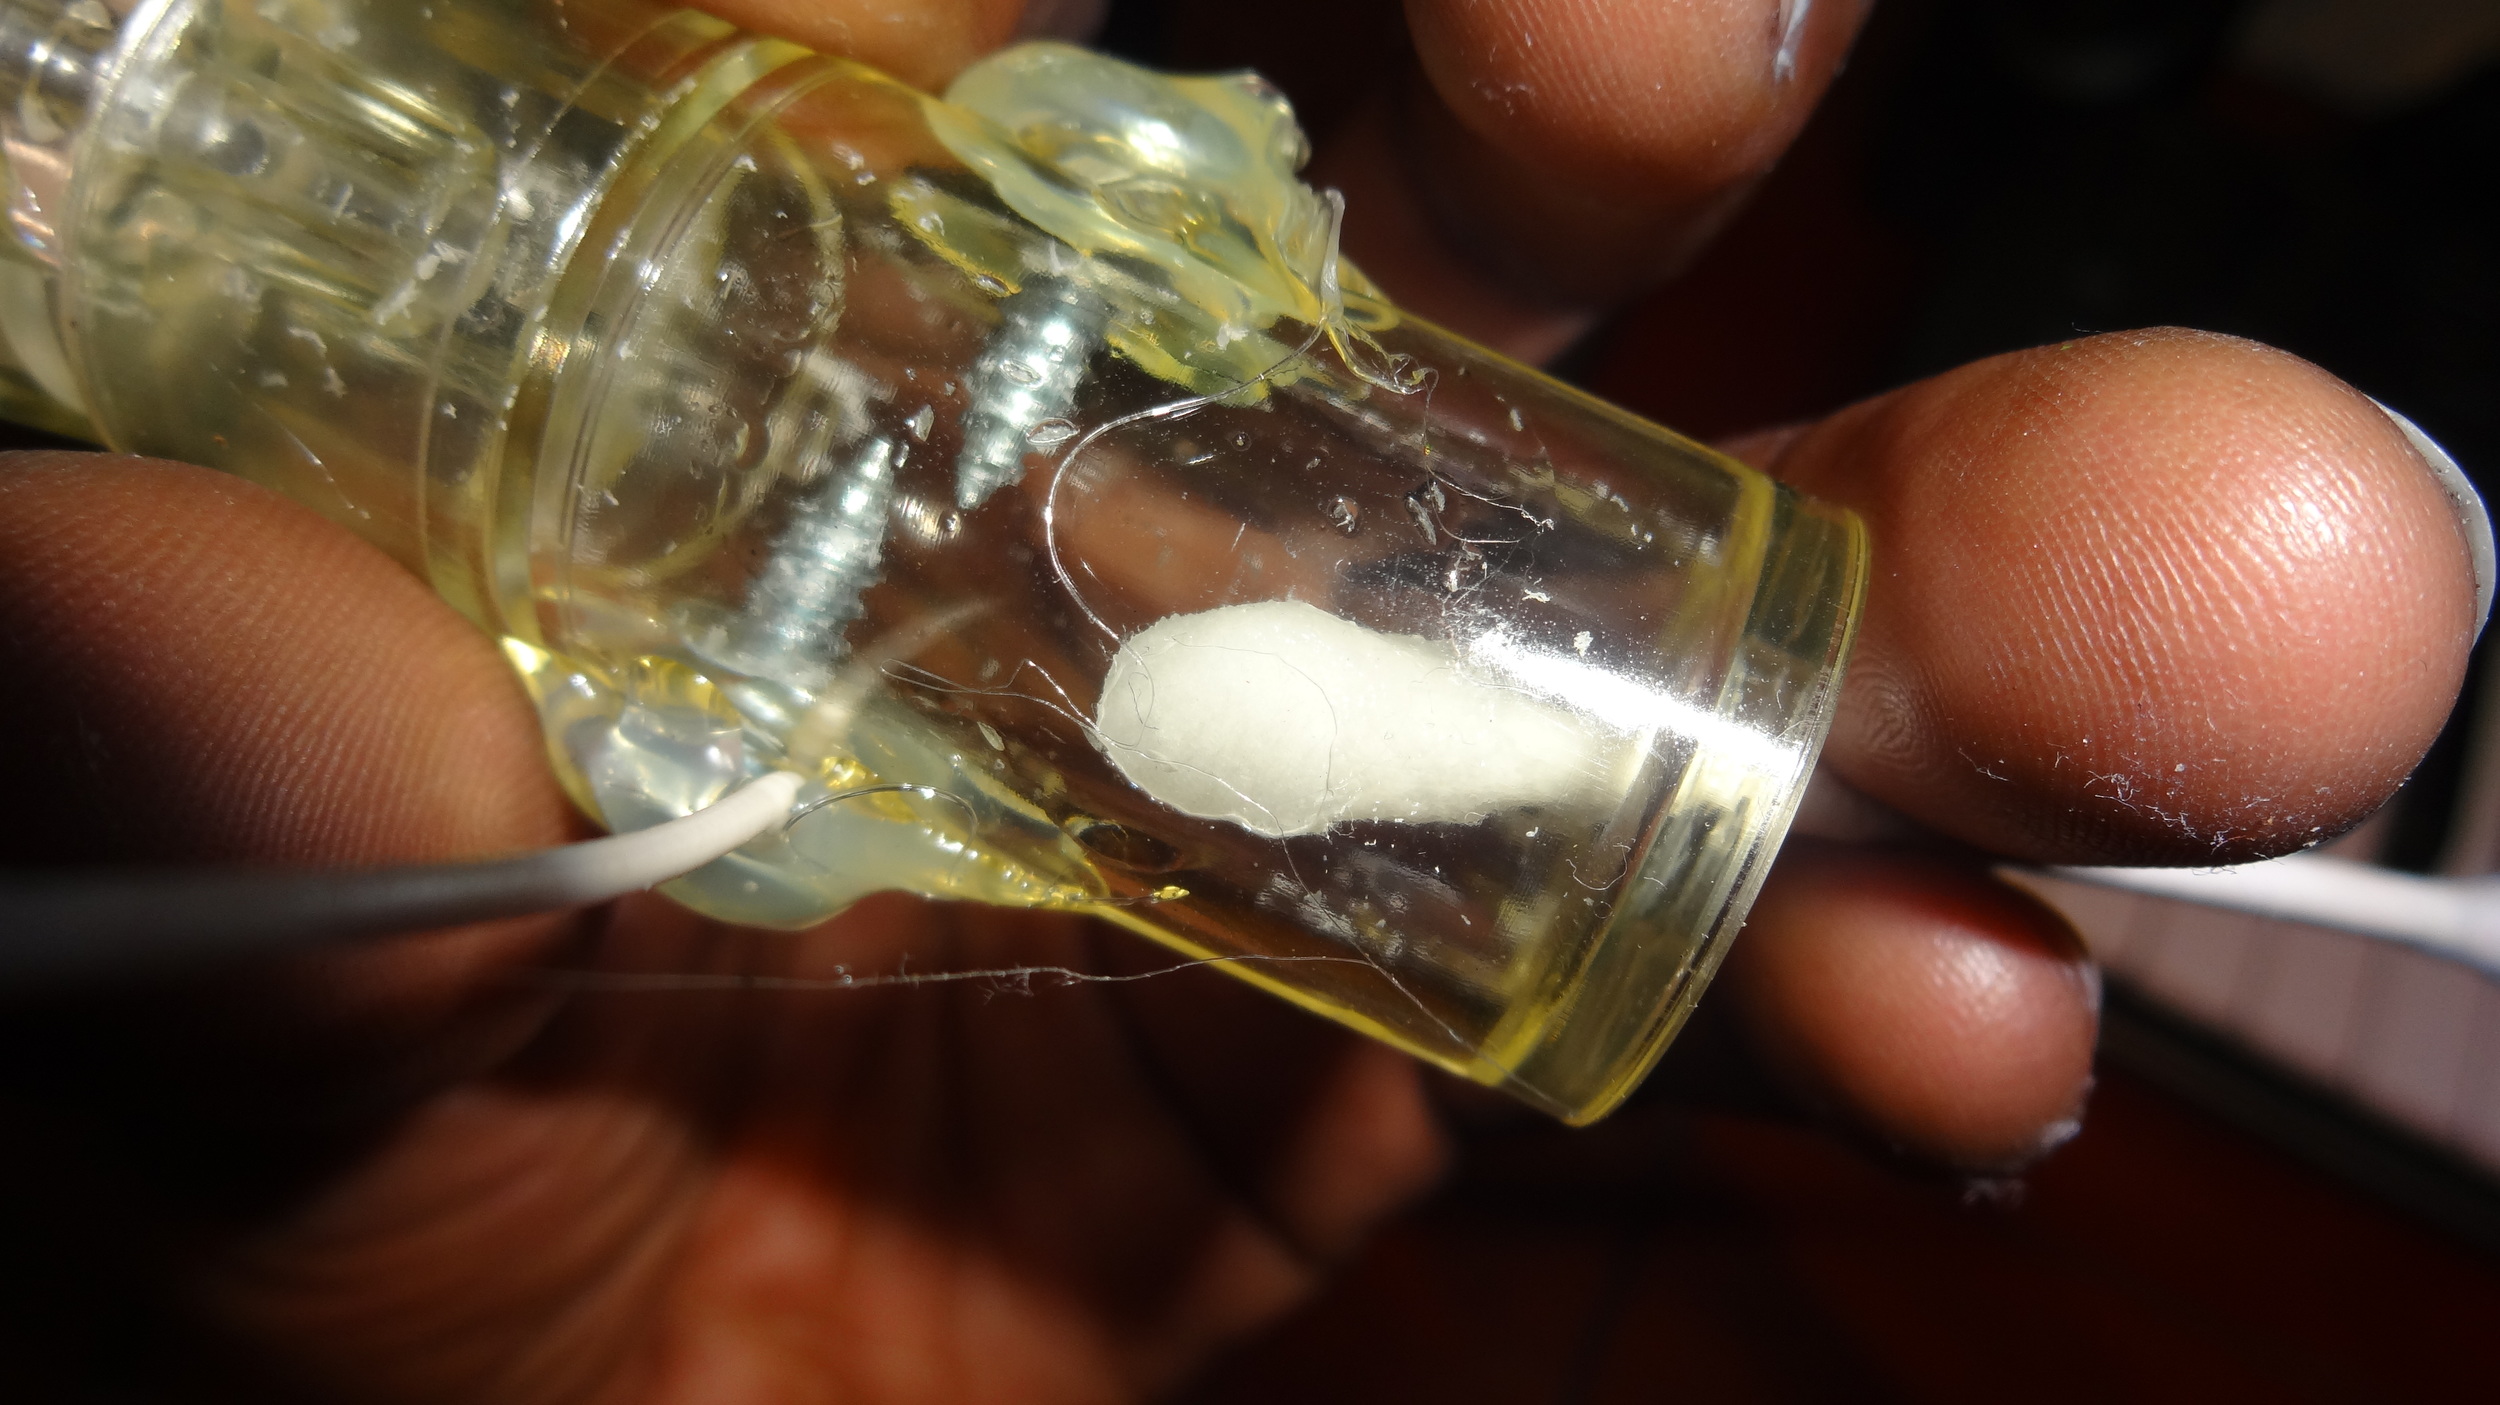
The software is currently still in an early beta mode, as is the hardware configuration. In the near future the existing servo will change to a step motor which moves the camera, this will provide a 360 degree view port and make the device all around more usable. I also did some investigation on the length of CSI cables (or limitations of length before degrading signals) - it seems people have gotten upwards 1 meter to work, I simply need enough to clear the 360 degree turn without stretching or bending the cable, and a meter is plenty. Not only that, I located a sturdy CSI extension cable on a random Polish web site for dirt cheap, so they are on the way.

Pi Turret Cam now has a logo ^_^ 

Pi Turret Cam now has a logo ^_^


Demonstration of CLI and Web client.

All code for PiTurretCam is tracked on github under the darkphotonworks organization under piturretcam repository.

Mini Projectile Cannon by Aaron Samuel

Using a standard BBQ lighter, a bolt, some screws, rubbing alcohol, and a few easily acquirable tools, I made a small dart launcher. Details below.

Starting with a view of the lighter in full.

Starting with a view of the lighter in full.

Remove the single screw which holds the 2 sides of the main body in place.

Remove the single screw which holds the 2 sides of the main body in place.

After pulling apart the lighter (expect it to break at some point) , these will be the major parts you need. The Gas Tank, & igniter. We will use a random pen casing as the barrel..

After pulling apart the lighter (expect it to break at some point) , these will be the major parts you need. The Gas Tank, & igniter. We will use a random pen casing as the barrel..

We need to drain the fuel from the ligther as we don't need it.

We need to drain the fuel from the ligther as we don't need it.

Carefully unscrew the top plastic piece to allow the fuel out - if you do it quickly the lighter will go flying out your hands - but the fuel will be gone..

Carefully unscrew the top plastic piece to allow the fuel out - if you do it quickly the lighter will go flying out your hands - but the fuel will be gone..

We will need to modify this top casing - initially it's only purpose is to channel enough butane up though the tube to allow for a small controllable flame - in our case - we are looking to allow air/gas through the tube - and require it to be relat…

We will need to modify this top casing - initially it's only purpose is to channel enough butane up though the tube to allow for a small controllable flame - in our case - we are looking to allow air/gas through the tube - and require it to be relatively wider. We will also need to remove the metal tubing within the tube.

The metal tube, spring and casing can all be disregarded - we only want the plastic screw piece.

The metal tube, spring and casing can all be disregarded - we only want the plastic screw piece.

However we want air/gas to move through this piece freely, and currently the hole on one side is much larger than the hole on the other.

However we want air/gas to move through this piece freely, and currently the hole on one side is much larger than the hole on the other.

This was an excuse to use my new dremmel anyway so.. bare with me..

This was an excuse to use my new dremmel anyway so.. bare with me..

bevel out the screw with your smallest drill bit, it should just work.

bevel out the screw with your smallest drill bit, it should just work.

There was some melting from doing this on wood - which is why i moved it to a clamp, but it didn't matter because the next step is to file the plastic screw top down to the proper width to properly fit whatever your barrel is, again mine is a pretty…

There was some melting from doing this on wood - which is why i moved it to a clamp, but it didn't matter because the next step is to file the plastic screw top down to the proper width to properly fit whatever your barrel is, again mine is a pretty standard (from the kinda fancy bic line) bic casing.

Once you can fit the barrel over the screw - you can go ahead and get prepared to glue it in place.

Once you can fit the barrel over the screw - you can go ahead and get prepared to glue it in place.

The end result should be something like this.

The end result should be something like this.

The gun used the mixture of alchohol and atmosphere to create a combustible gas (think about the smell of alchohol and know that in a closed in area - that smell means things can catch a flame - and quick).  This will be a back loading model - …

The gun used the mixture of alchohol and atmosphere to create a combustible gas (think about the smell of alchohol and know that in a closed in area - that smell means things can catch a flame - and quick).  This will be a back loading model - so .. screw a whole in the back wide enough to get a 1/8" bolt in. In order to do this i had to get fancy with the dremel cause i didn't have the proper bit. But heh..

So now our mechanism for loading the gun is set.

So now our mechanism for loading the gun is set.

Next - we want to get too screws placed at opposite sides with a slight spacing between - far enough no to touch - but close enough to transfer a current using the air between as a medium.

Next - we want to get too screws placed at opposite sides with a slight spacing between - far enough no to touch - but close enough to transfer a current using the air between as a medium.

Wire the contacts to the screws. What this does is send he charge from the igniter across he screws.

Wire the contacts to the screws. What this does is send he charge from the igniter across he screws.

IMPORTANT: To avoid a small aggrivating shock each time you fire the gun off - you want to insulate the screw heads, heated adhesive is optimal here.

IMPORTANT: To avoid a small aggrivating shock each time you fire the gun off - you want to insulate the screw heads, heated adhesive is optimal here.

Loading the gun is two parts. On one hand you need a projectile - in this case i am using a nice spit ball. ^_^ On the other end we need some rubbing alchohol which is lending to the combustion effect - which is then causing a outward pushing force …

Loading the gun is two parts. On one hand you need a projectile - in this case i am using a nice spit ball. ^_^ On the other end we need some rubbing alchohol which is lending to the combustion effect - which is then causing a outward pushing force enough to shoot something out the shaft. 90% is best - I am using 70 and it works.

Remove the loading bolt - stick the Q-Tip up in there (lol) - Swab the inner walls with the alchohol really good (buahaha), it's ok to hit the screws, and wipe down the bolt which closes the loading hole - then put the bolt back tightly. Load your p…

Remove the loading bolt - stick the Q-Tip up in there (lol) - Swab the inner walls with the alchohol really good (buahaha), it's ok to hit the screws, and wipe down the bolt which closes the loading hole - then put the bolt back tightly. Load your projectile - it's best that the projectile loosely fits in the tube but also covers the general width of the tube. Allow the gun to sit for about a minute or two - this allows the fume to form within the gas chamber.

Action!!!!